NFM-P and NSP comparison: LAG Configuration

Before you begin

This use case shows how to use Infrastructure Configuration Management in NSP to create a LAG.

Click on a figure to enlarge it.

NFM-P method

For comparison, here are the steps we would have performed in the NFM-P to create a LAG.

  1. Prepare the ports:

    1. On the equipment tree, expand Network→NE→Shelf→Card Slot n→Daughter Card Slot n→Port n/n/n.

    2. Multi-select the required ports, right-click and choose Properties. The Physical Port (Multiple Instances) (Edit) form opens.

    3. Update the parameters as required and click Apply.

    4. Save your changes and close the form.

  2. On the equipment tree, expand Network→NE→Logical Groups→LAGs.

  3. Right-click on LAGs and choose Create LAG.

  4. Proceed through the wizard, configuring parameters as required, and click Finish.

Infrastructure Configuration Management method

You can configure all the ports in one operation by deploying a configuration template. Deploy another template to create the LAG.

In this example, the following configuration templates have been created; see How do I import a configuration intent type?and How do I create a configuration template?.

  • Gold_Ports , which uses the predefined icm-equipment-port-ethernet intent type

  • Gold-LAGs , which uses the predefined icm-logical-lag-access intent type

Steps
Configure the ports
 

Open Device Management, Configuration Templates.


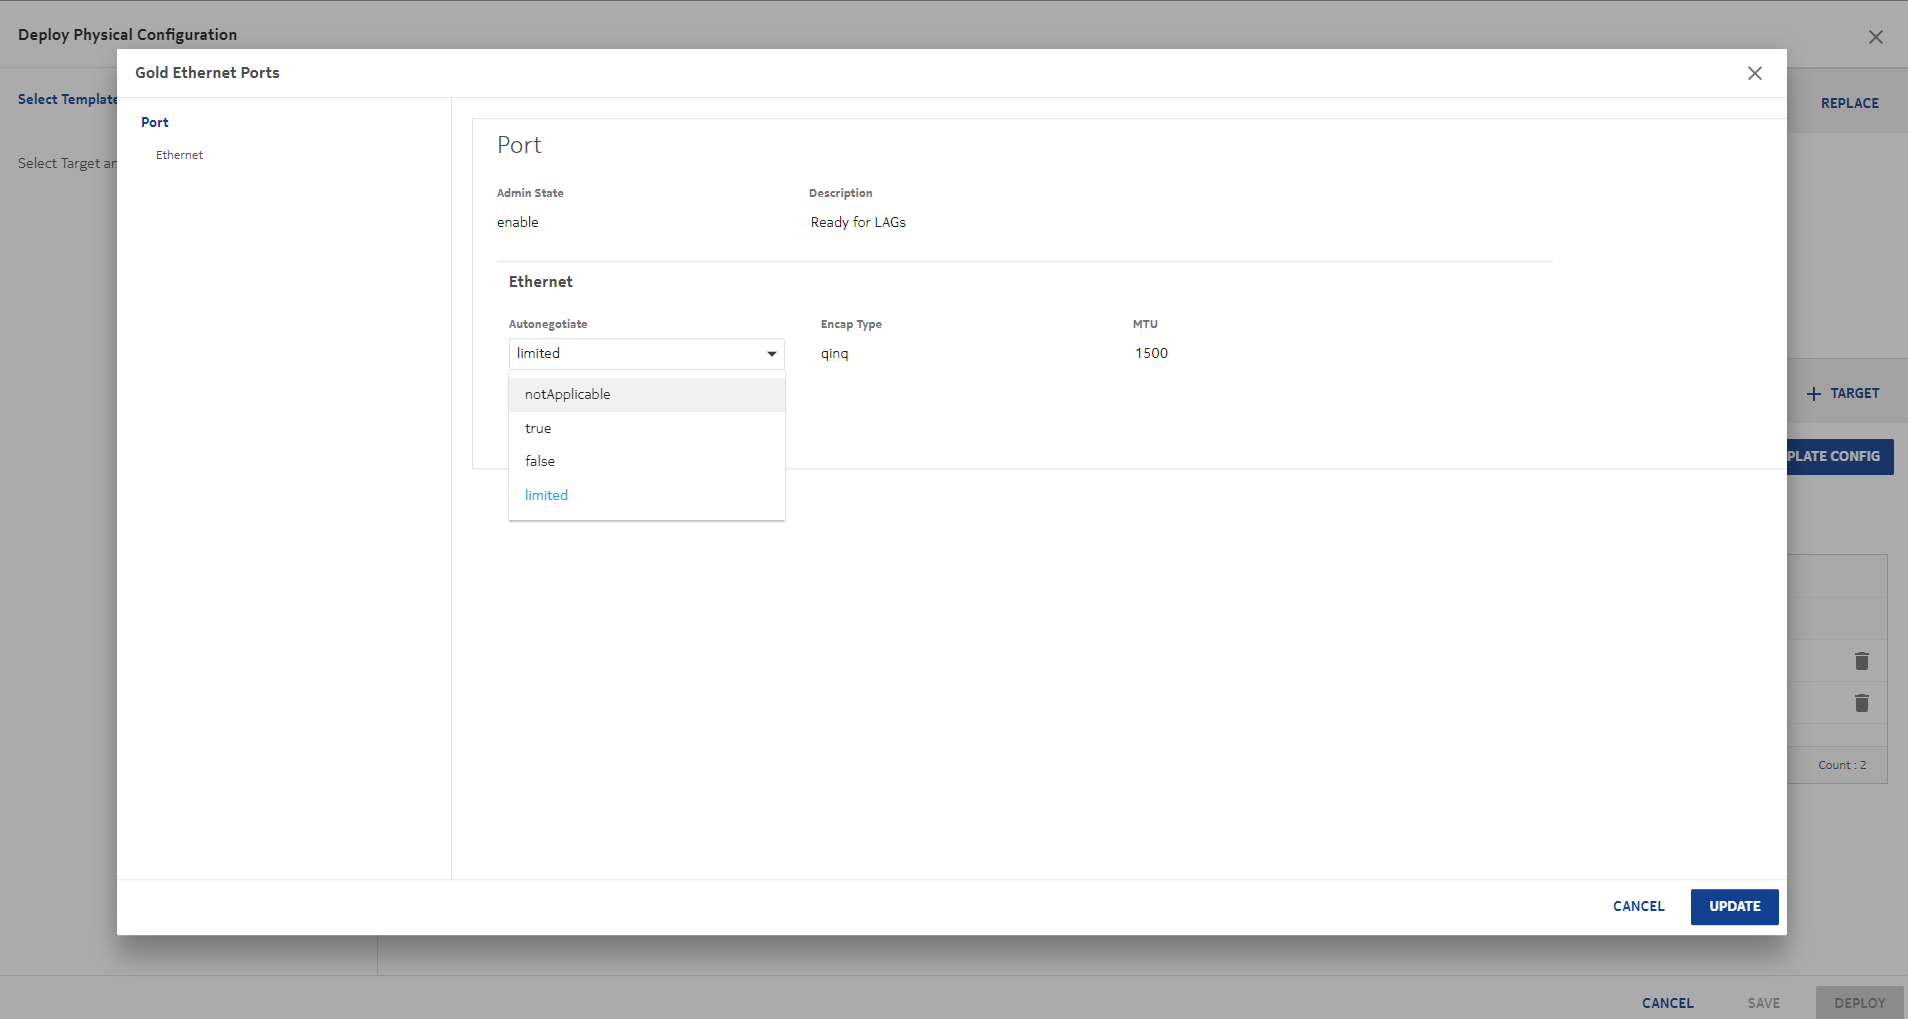
Select Gold_Ports from the list of configuration templates and click png1.png (Table row actions), Deploy to Network.


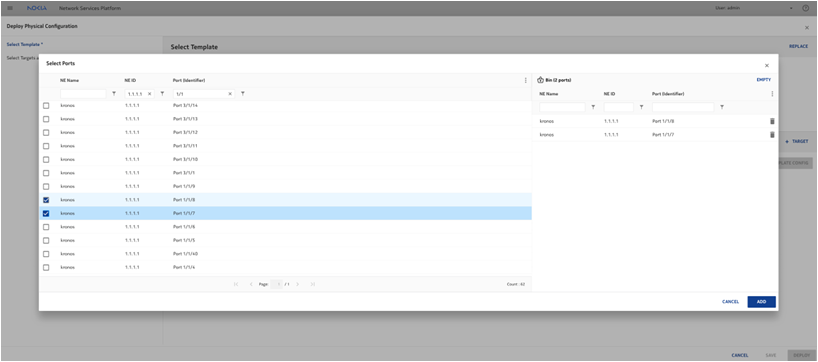
In the form that opens, click png2.pngTARGET and choose Ports.


Filter on the NE name and port numbers to find the ports you want to configure, and click ADD to add them to the list of targets.


This template is flexible: you can click View/Edit Template Config to verify the configuration and update it if needed.

Click UPDATE to close the View form, and DEPLOY to send the configuration to the ports.


Configure the LAG
 

Select Gold-LAGs from the list of configuration templates and click png1.png (Table row actions), Deploy to Network.


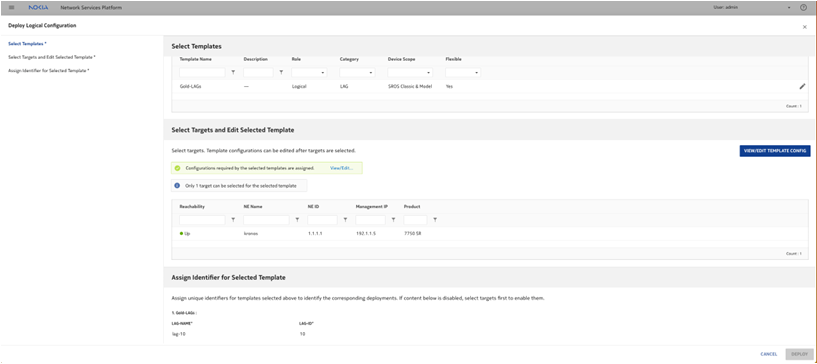
The template only accepts one target. Click png2.pngTARGET and choose NEs.

Select the NE in the form that opens.


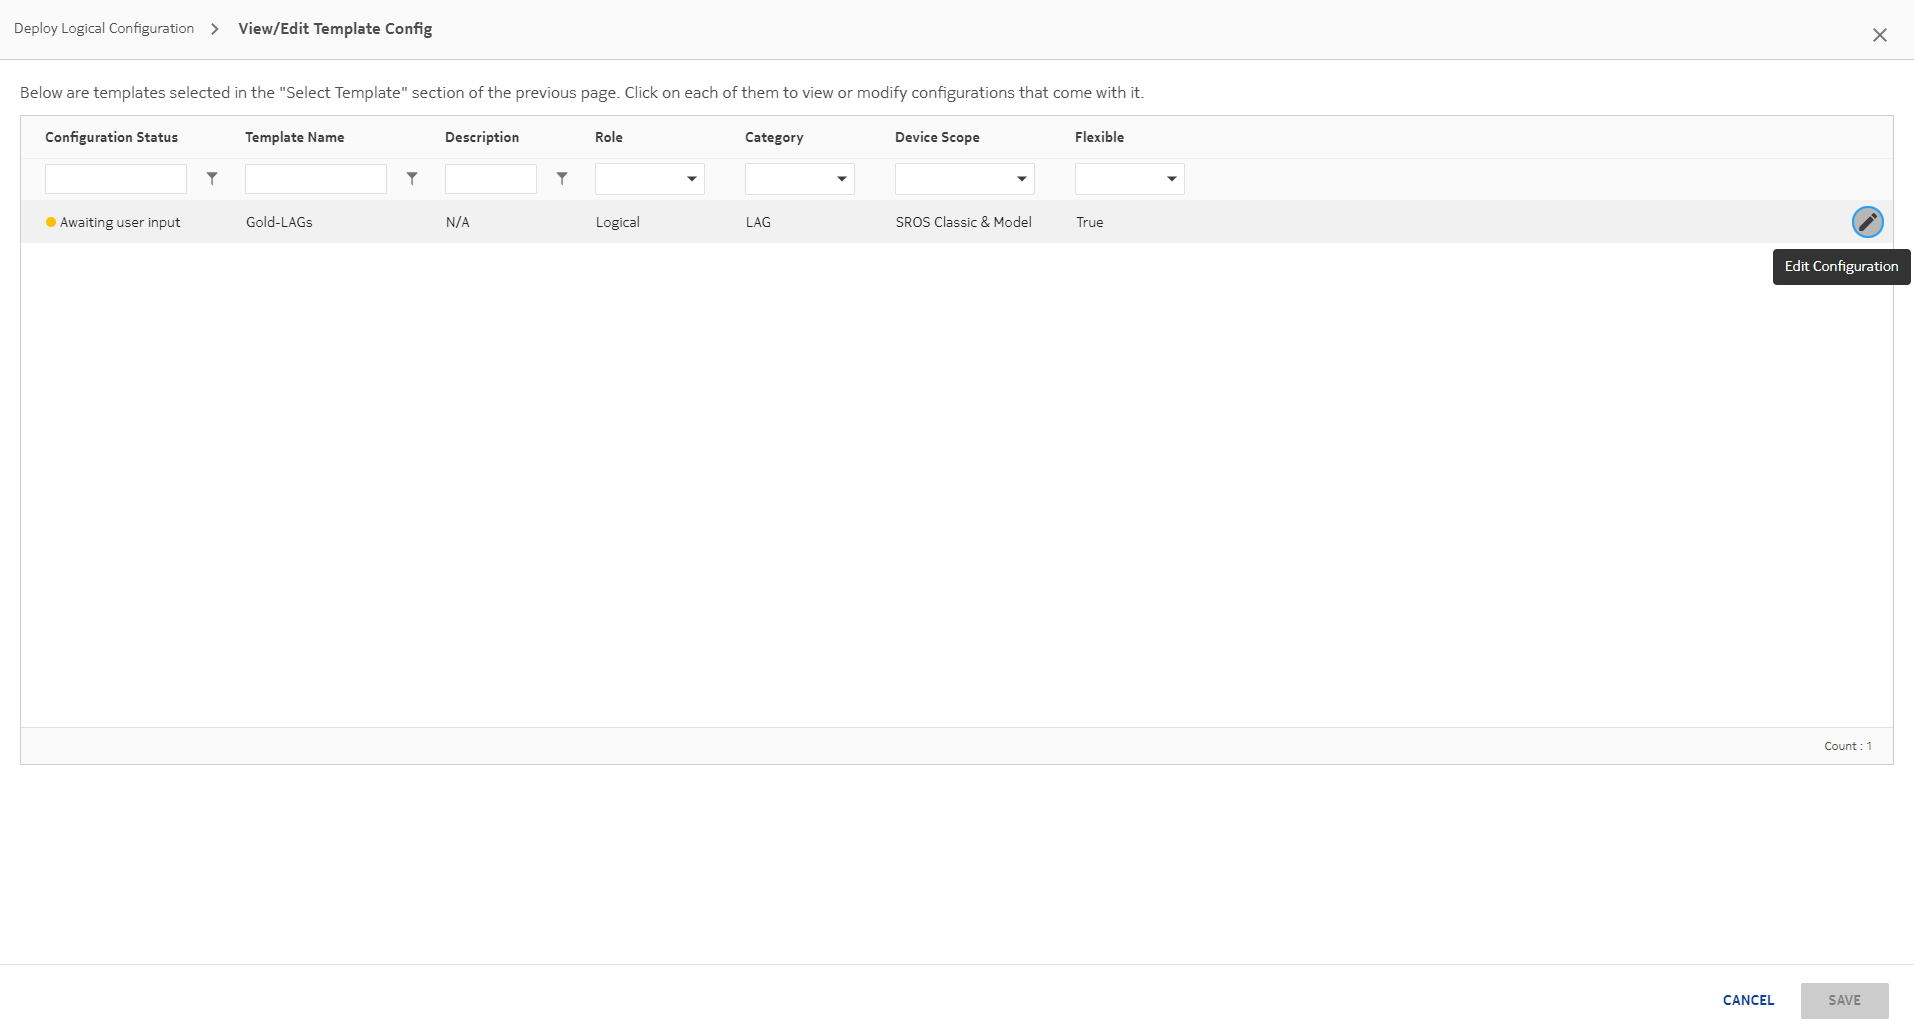
Click View/Edit Template Config to view and set the LAG parameters.

In the form that opens, select the template and click Edit Configuration.


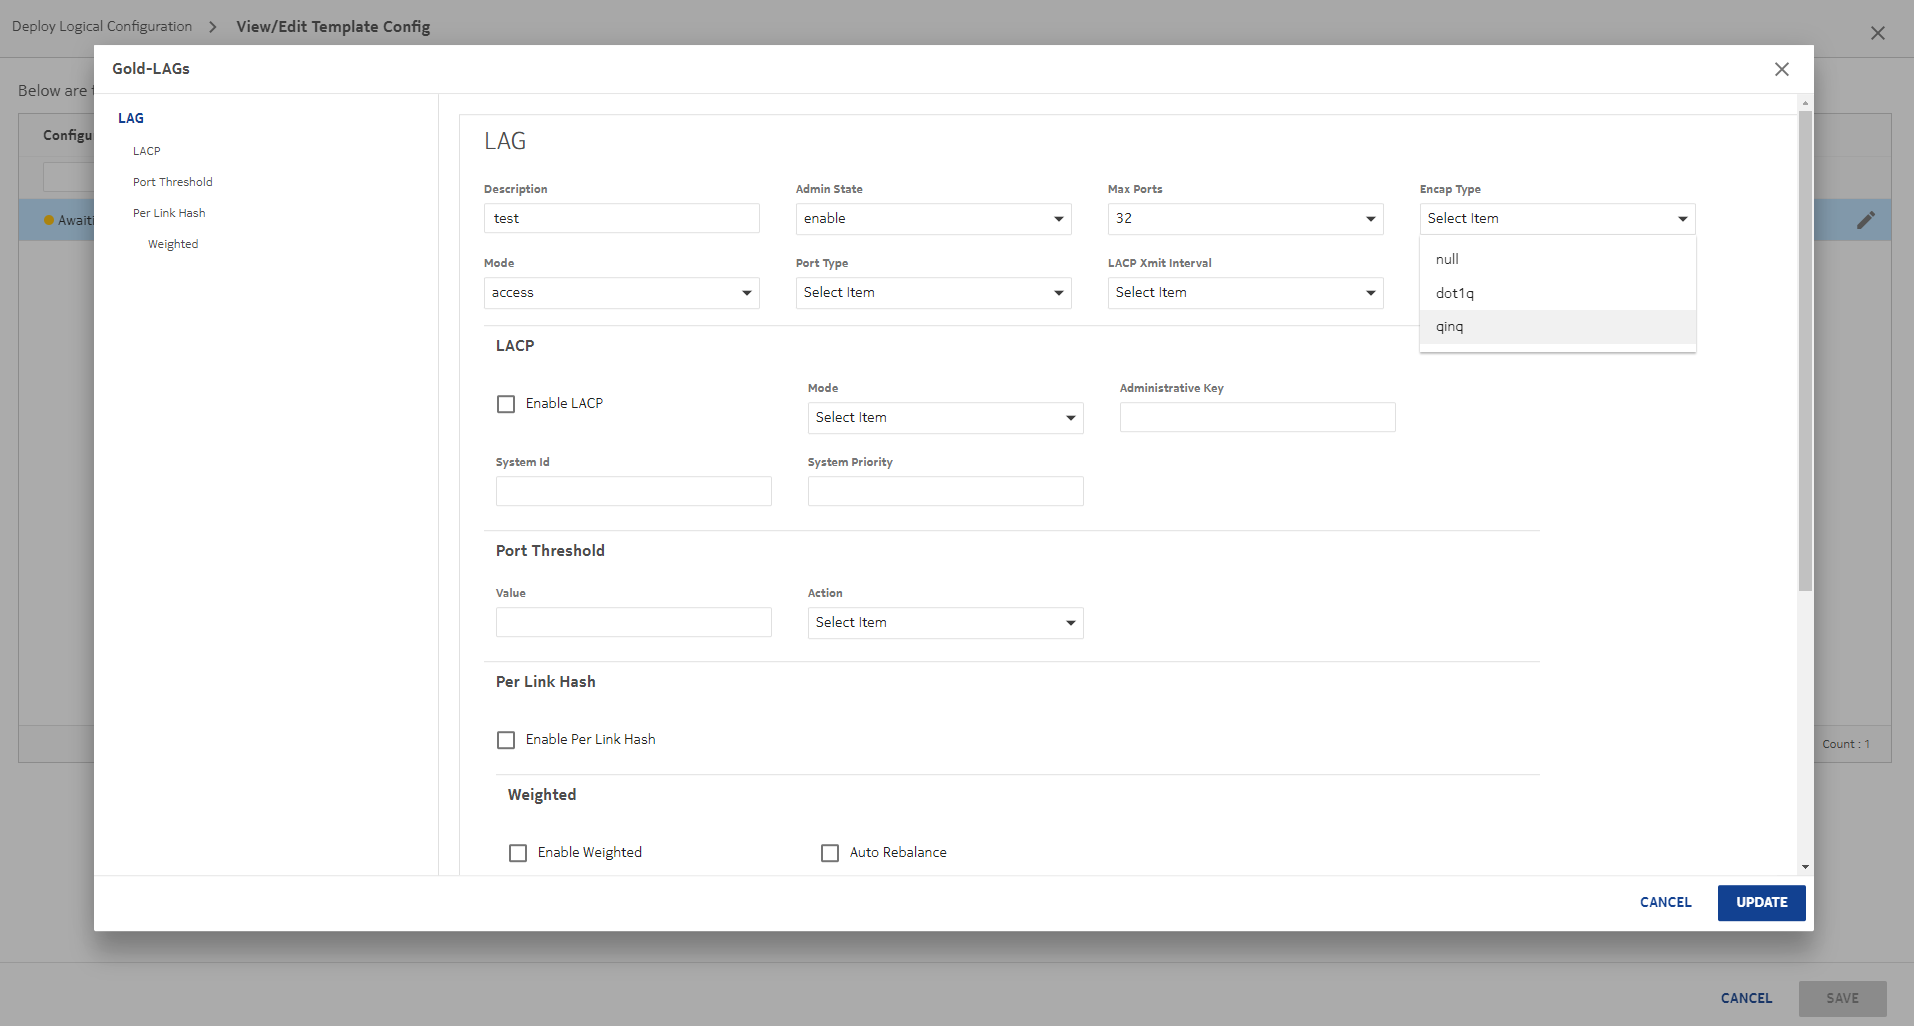
Configure the LAG parameters as needed.


10 

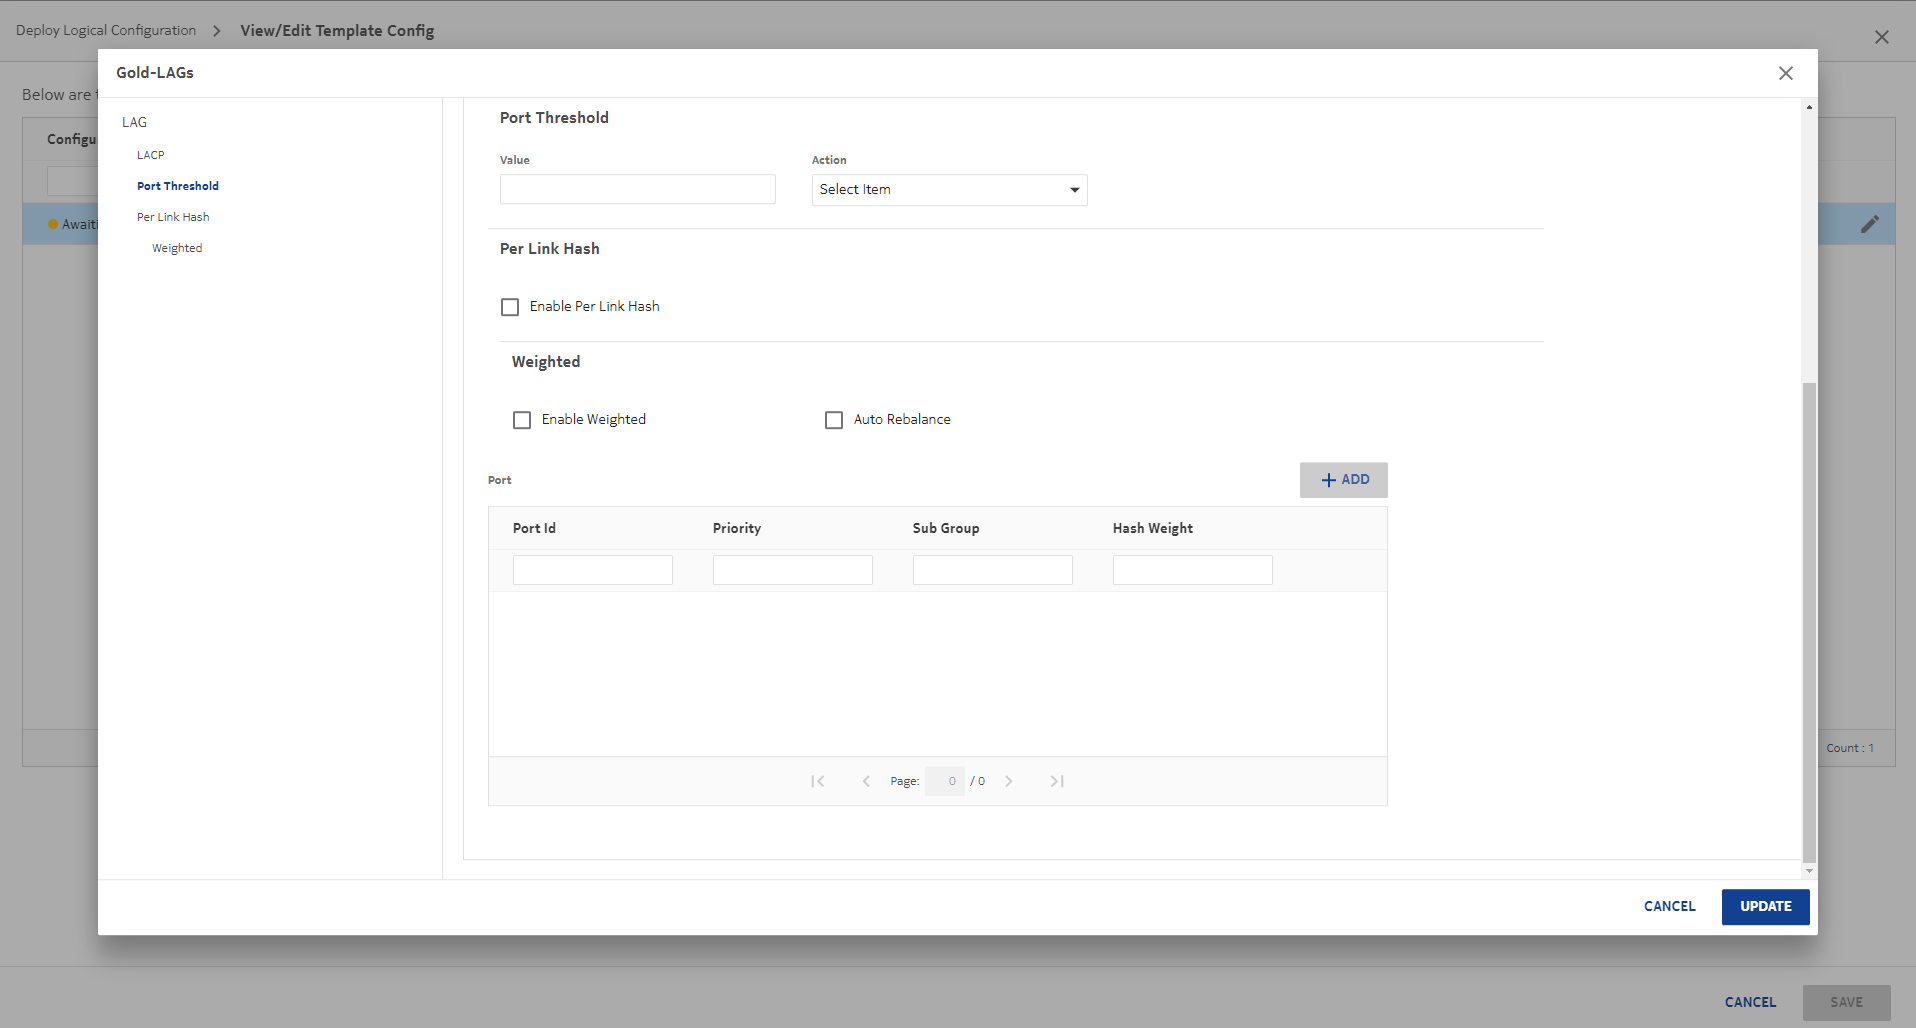
Click png2.pngADD to add the ports you configured with the previous template.


11 

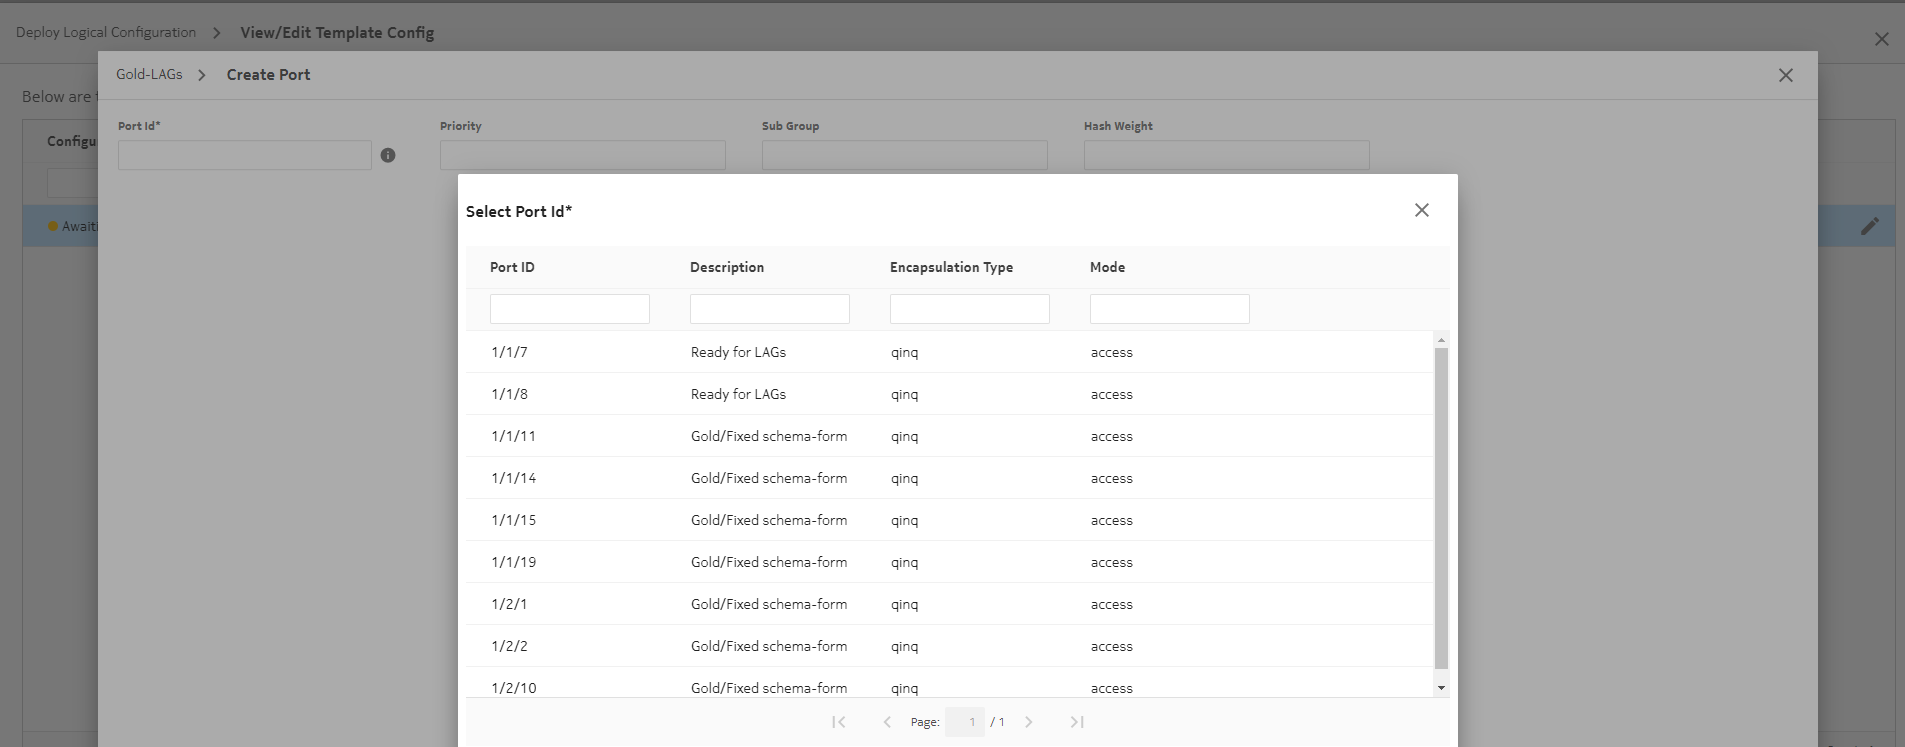
In the form that opens, select a port and click SELECT.


12 

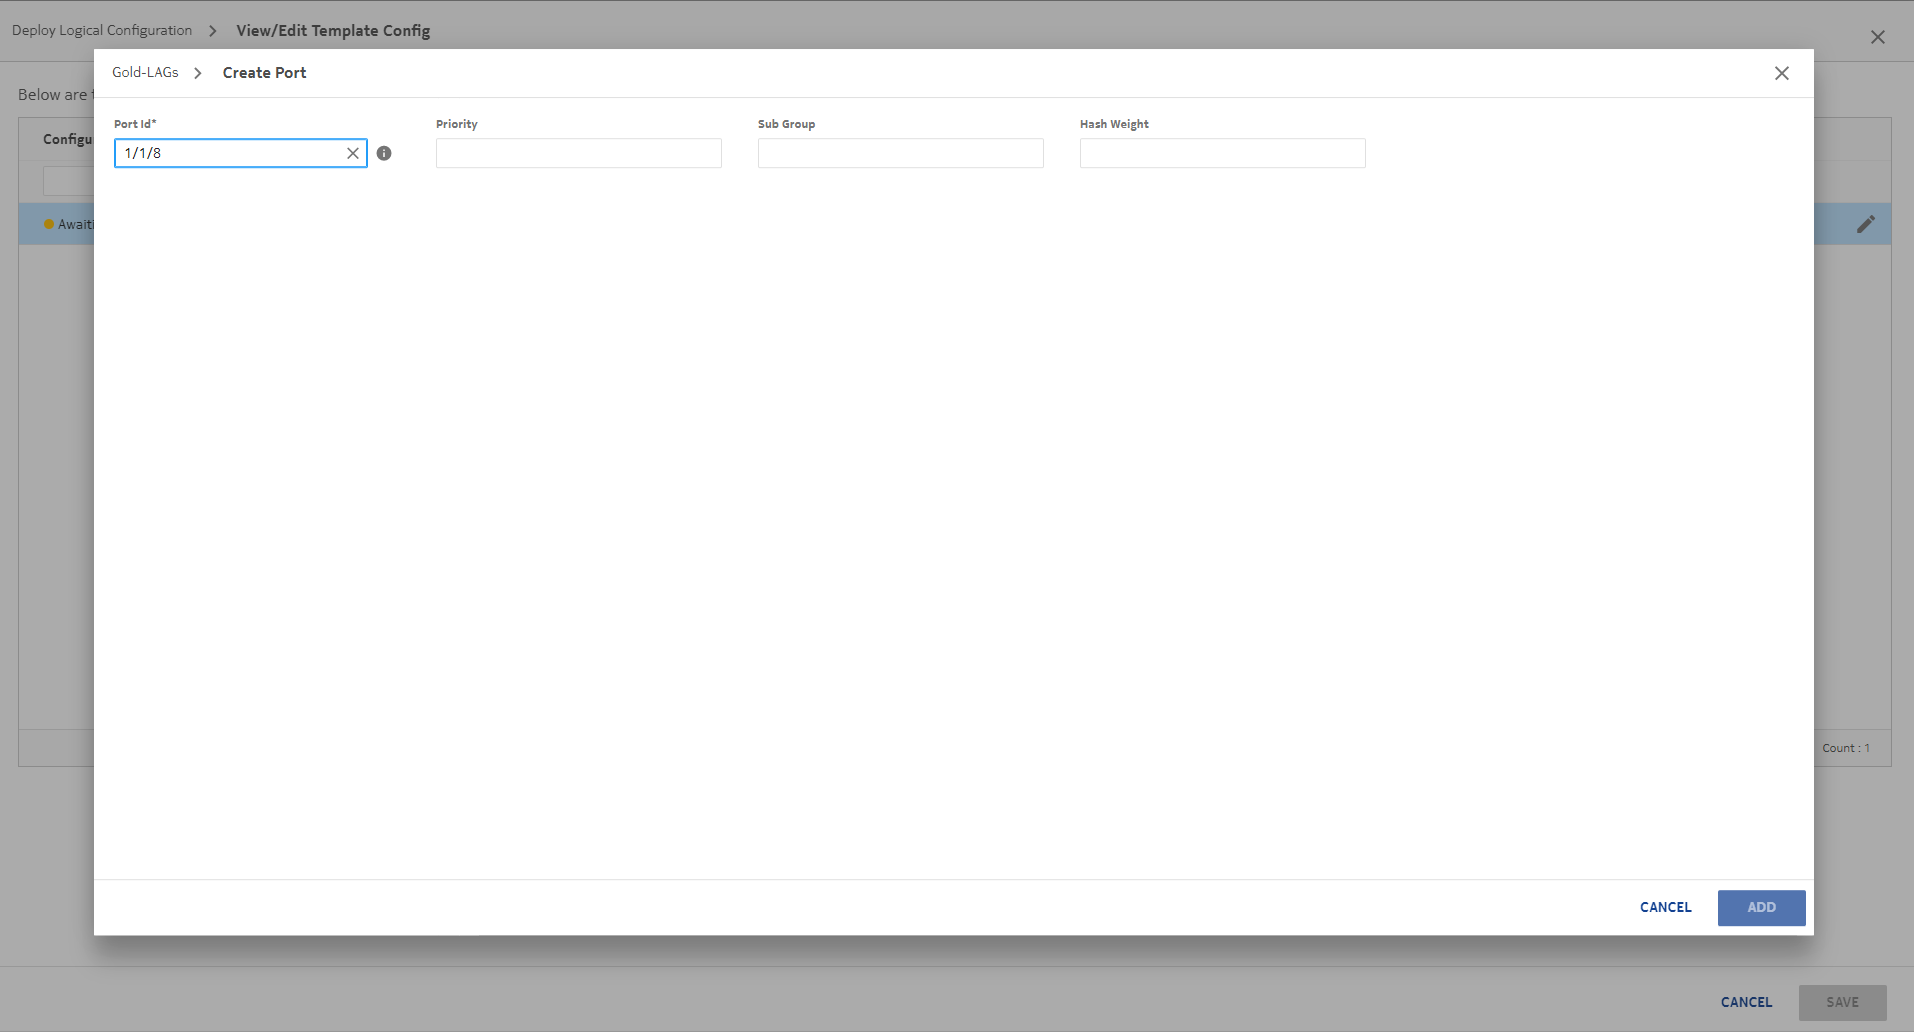
Configure port parameters as needed and click ADD.


13 

Repeat the steps to add the other port and click UPDATE. Click SAVE to exit the View/Edit form.


14 

Enter a name and ID for the LAG and click DEPLOY.

End of steps

Result

Double click on Gold-LAGs in the template list to see the deployments and show the newly created LAG.

View the figure