To install an NFM-P client delegate server
Purpose
The following steps describe how to install the client delegate server software on a RHEL or Microsoft Windows station.
Note: Before you perform the procedure, the client delegate server address and installation directory must be configured on each main server during installation or upgrade, or as described in To add a client delegate server to an NFM-P system.
Note: The main server to which the client delegate server connects must be running and operational when you perform the procedure.
Note: You require the following user privileges on the client delegate server station:
Note: A leading # in a CLI command line represents the RHEL prompt, and is not to be included in the command.
Description
1 |
If you are installing the client delegate server on RHEL, you must create a RHEL user group called nsp, and a RHEL user called nsp as a member of the nsp group; perform the following steps.
|
2 |
Create a local folder to hold the client installation software. |
3 |
Use a browser on the client delegate server station to open one of the following URLs:
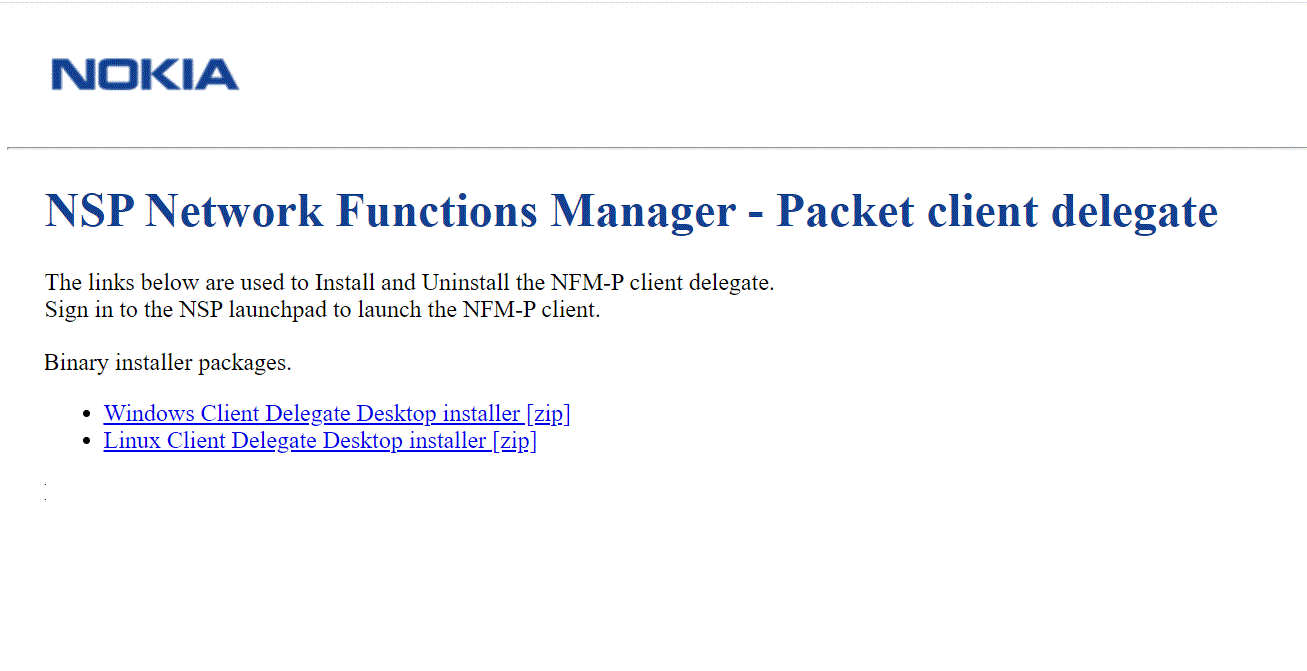
where server is the main server IP address or hostname Note: An IPv6 address must be enclosed in brackets, for example: [2001:0DB8:3EA6:2B43::11A1] The page shown in Figure 14-5, NSP Network Functions Manager - Packet client opens. Figure 14-5: NSP Network Functions Manager - Packet client |
4 |
Click on the appropriate Binary installer packages link for the client delegate server OS to download the installer zip file. |
5 |
Fully unzip the contents of the downloaded file to the temporary folder created at the beginning of the procedure. Note: Do not run the installer from a zip-file preview window. |
6 |
If you are installing a client delegate server on Windows 2012, right-click on the nfmp_win_delegate file and choose Run as administrator. An installation wizard is displayed. Note: You may need to unquarantine the file if your virus scanner identifies the file as unknown. |
7 |
If you are installing a client delegate server on Windows 2016, open the nfmp_win_delegate executable file in the temporary folder. An installation wizard is displayed. Note: You may need to unquarantine the file if your virus scanner identifies the file as unknown. |
8 |
If you are installing a client delegate server on RHEL, perform the following steps.
|
9 |
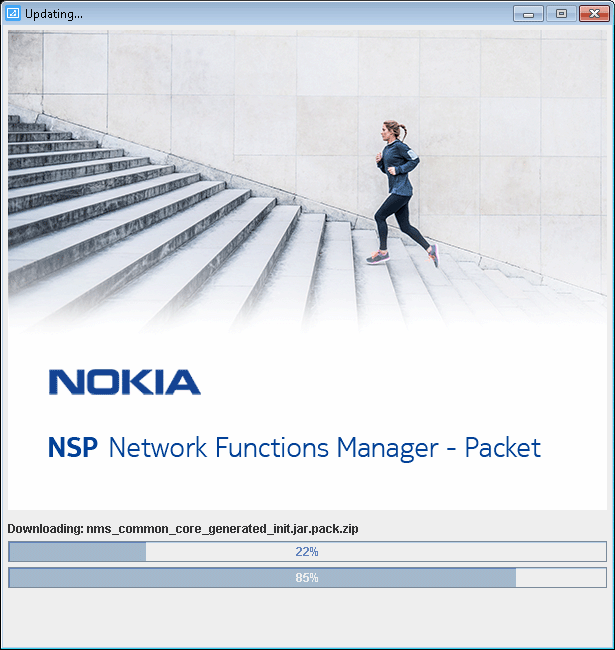
Follow the prompts to specify the client delegate server type, whether you want a desktop shortcut created, and whether to run the client when the installation is complete, as required. Note: Depending on the OS type, one or more prompts may not be displayed. After you click Finish, the client installation begins, and the panel shown in Figure 14-6, Updating... is displayed. The panel uses separate bars to indicate the overall and current task progress. Figure 14-6: Updating...
|
10 |
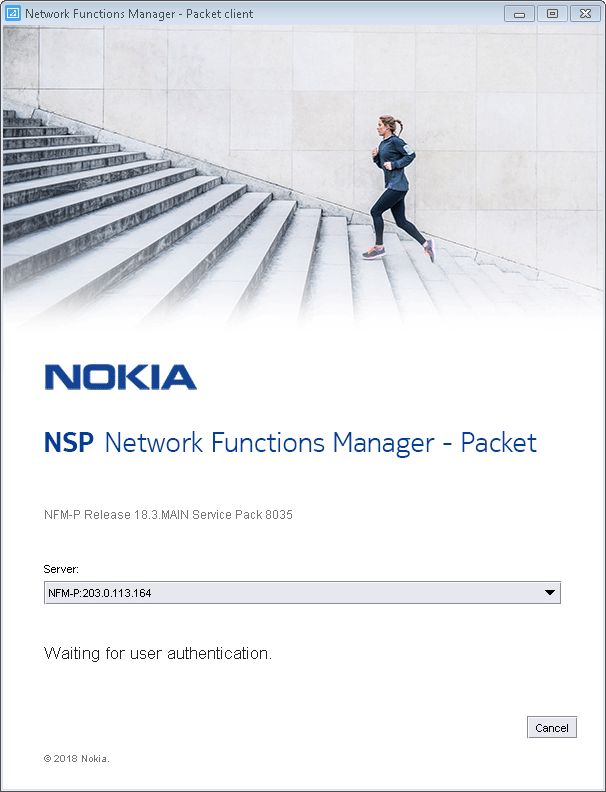
If you are not currently logged in, the splash screen shown in Figure 14-7, Waiting for user authentication opens, and the NSP sign-in page is displayed. Enter the required login credentials on the NSP sign-in page and click SIGN IN. The NSP UI is displayed, and the client GUI opens. Figure 14-7: Waiting for user authentication
|
11 |
If you are installing on Windows, you must enable the Modify access privilege on the installation folder for each Windows-authenticated user of the client delegate server. Perform the following steps as a user with local administrative privileges. Note: The steps may vary, depending on the Windows version, and may need to be repeated for multiple users or user groups.
|
12 |
If required, enable local client access for other users on the client delegate server station.
End of steps |
