| |
|
1 |
Log in to the client station.
|
2 |
Close the client GUI, if it is open.
|
3 |
Use a browser to open the NSP sign-in page.
|
4 |
Enter the required login credentials and click SIGN IN. The NSP UI is displayed.
|
5 |
If one of the following is true, perform the following steps.
-
The client is configured to connect to only one NFM-P system.
-
The client is configured to connect to multiple NFM-P systems, and you do not want to keep the current client version.
Note: If the client is configured to connect to multiple NFM-P systems, and after the upgrade you select a non-upgraded system in the Server drop-down list of the client, you are prompted to downgrade the client. A client downgrade erases the multiple-system client configuration. If you want to preserve the Server drop-down options, do not downgrade the client.
-
Double-click on the NSP NFM-P Client desktop icon.
-
Go to
Step 8.
|
6 |
Perform the following steps if the following conditions are true:
-
The client is configured to connect to multiple NFM-P systems.
-
You want to keep the current client version for connection to a system that is not yet upgraded.
-
The system is the first of the multiple NFM-P systems to be upgraded.
If the conditions are true, you must remove the upgraded system from the configuration on the client station, and must not use the desktop icon to open the client.
-
On a Windows station:
-
Open the Registry Editor.
-
Navigate to the following key:
Computer\HKEY_CURRENT_USER\SOFTWARE\JavaSoft\Prefs
-
Select and delete the IP address or hostname of each upgraded NFM-P main server.
-
Close the Registry Editor.
-
Edit the following file to remove the <j2ee and <systemMode lines for the upgraded NFM-P system.
install_dir\nms\config\nms-client.xml
where install_dir is the client installation directory
-
Edit the following file to replace all occurrences of the upgraded system, if present, with the IP address or hostname of a system that is not yet upgraded:
Note: It is recommended to use the address or hostname of the system that is to be upgraded last.
Note: For a redundant system, you must replace both main server addresses or hostnames.
install_dir\nms\bin\locallaunch.jnlp
-
Right-click the desktop icon, select Properties, and change the name on the General tab to the IP address or hostname of a different NFM-P system.
Note: It is recommended to use the address or hostname of the system that is to be upgraded last.
-
From the Java Control Panel, clear the Java cache of any entries for the recently upgraded system.
-
Right-click the client desktop icon, select Properties, and change the name on the General tab to the IP address or hostname of a different NFM-P system.
-
Install a new client instance.
Note: You must specify a new client installation location, and not the current location.
-
On a RHEL station:
-
Open the following file using a plain-text editor such as vi:
~/.java/.userPrefs/prefs.xml
-
Select and delete the IP address or hostname of each upgradedNFM-P main server.
-
Save and close the file.
-
Edit the following file to remove the <j2ee and <systemMode lines for the upgraded NFM-P system.
install_dir/nms/config/nms-client.xml
where install_dir is the client installation directory
-
Edit the following file to replace all occurrences of the upgraded system, if present, with the IP address or hostname of a system that is not yet upgraded:
Note: It is recommended to use the address or hostname of the system that is to be upgraded last.
Note: For a redundant system, you must replace both main server addresses or hostnames.
install_dir/nms/bin/locallaunch.jnlp
-
Edit the desktop icon file to replace each occurrence of the upgraded system with the IP address or hostname of a system that is not yet upgraded.
Note: It is recommended to use the address or hostname of the system that is to be upgraded last.
-
From the Java Control Panel, clear the Java cache of any entries for the recently upgraded system.
-
Install a new client instance.
Note: You must specify a new client installation location, and not the current location.
|
7 |
If the client is configured to connect to multiple NFM-P systems, and the upgraded system is not the first to be upgraded, perform the following steps.
-
For a Windows client:
-
Edit the following file to add <j2ee and <systemMode lines for each main server in the upgraded NFM-P system:
new_install_dir\nms\config\nms-client.xml
where new_install_dir is the installation directory of the new client installed in
Step 6
-
Use the new client desktop icon to open the GUI for the upgraded system.
-
For a RHEL client:
-
Edit the following file to add <j2ee and <systemMode lines for each main server in the upgraded NFM-P system:
new_install_dir/nms/config/nms-client.xml
where new_install_dir is the installation directory of the new client installed in
Step 6
-
Use the new client desktop icon to open the GUI for the upgraded system.
|
8 |
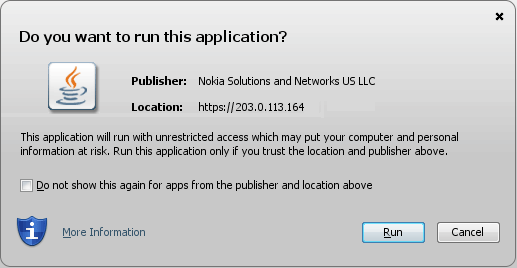
A form like the following is displayed.
Click Run.
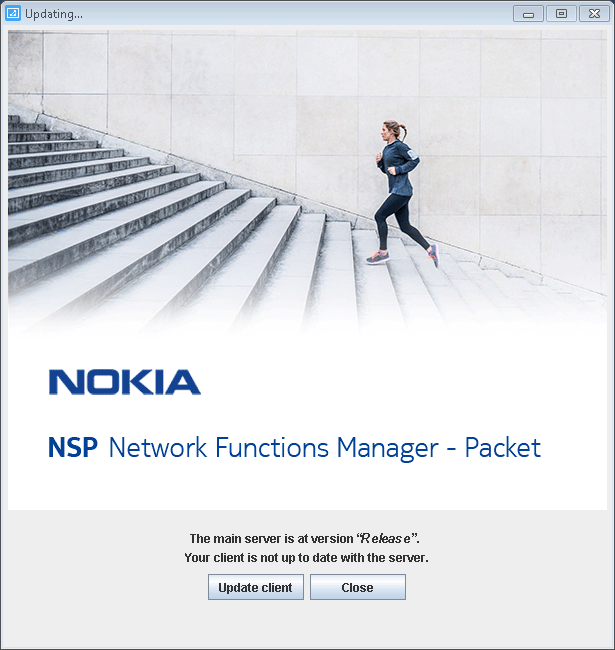
The panel shown in
Figure 16-3, Updating... is displayed.
|
9 |
Click Update client.
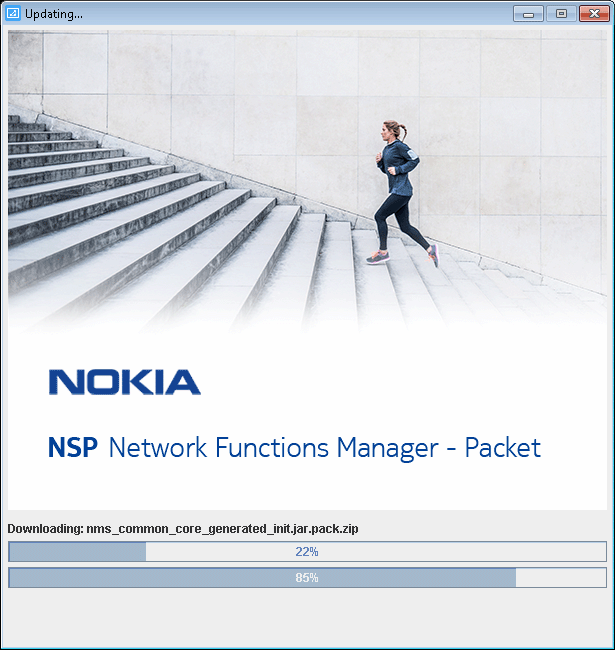
The client upgrade begins, and the panel shown in
Figure 16-4, Updating... is displayed. The panel uses separate bars to indicate the overall and current task progress.
|
10 |
If the client is installed on Mac OS X, perform the following steps.
-
Open a console window.
-
Navigate to the following directory:
/Applications/NFMPclient.IP_address.app/Contents/Resources/nms/bin
-
Enter the following:
chmod +x nmsclient.bash ↵
|
11 |
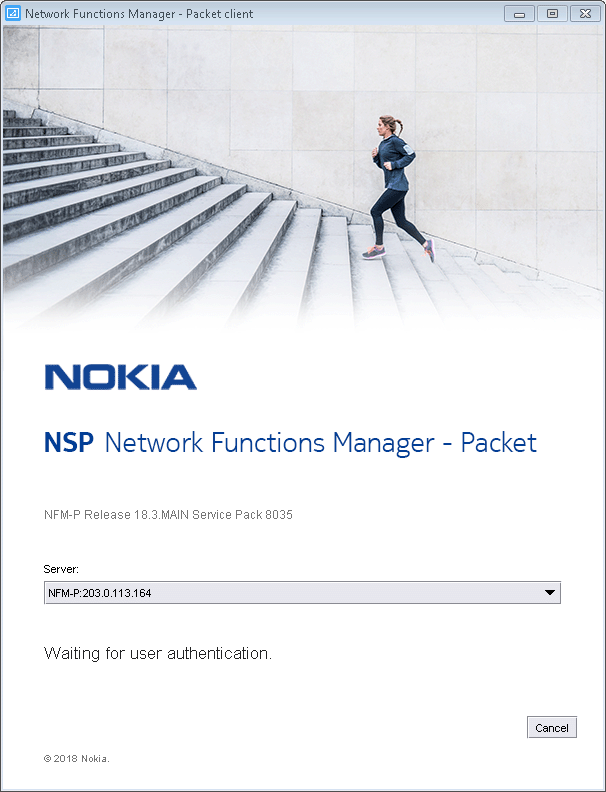
If you are not currently logged in, the splash screen shown in
Figure 16-5, Waiting for user authentication opens, and the NSP sign-in page is displayed.
Enter the required login credentials on the NSP sign-in page and click SIGN IN. The NSP UI is displayed, and the client GUI opens.
|
12 |
Verify that the GUI is operational and correctly displayed.
End of steps |


