To install an NFM-P single-user GUI client
Purpose
The following steps describe how to install the single-user GUI client software on a station.
Note: The main server to which the client connects must be running when you perform this procedure.
Note: You require local user privileges on the client station.
Note: A leading bash$ in a CLI command line represents the RHEL prompt, and is not to be included in the command.
Steps
1 |
Create a local folder to hold the client installation software. |
2 |
Use a browser on the client station to open one of the following URLs:
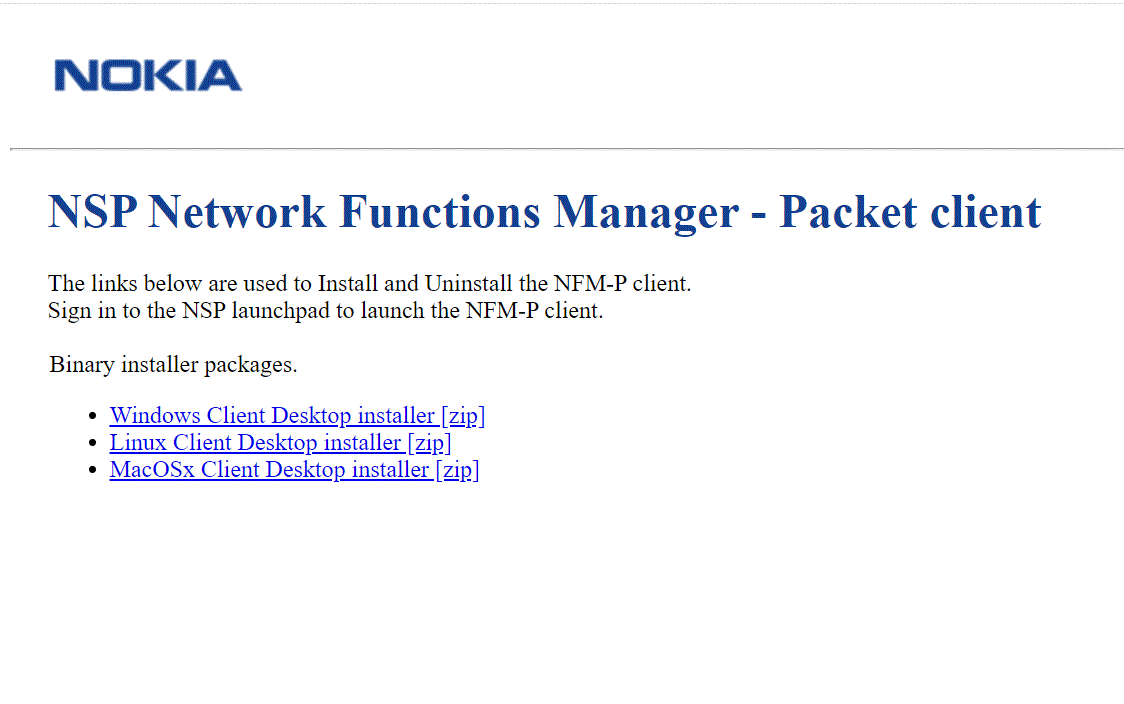
where server is the main server IP address or hostname Note: An IPv6 address must be enclosed in brackets, for example: [2001:0DB8:3EA6:2B43::11A1] The page shown in Figure 14-1, NSP Network Functions Manager - Packet client opens. Figure 14-1: NSP Network Functions Manager - Packet client
|
3 |
Click on the appropriate Binary installer packages link for your client station OS to download the installer zip file. |
4 |
Fully unzip the contents of the downloaded file to the temporary folder created at the beginning of the procedure. Note: Do not run the installer from a zip-file preview window. |
5 |
If you are installing a single-user client on Windows, open the nfmp_win_client executable file in the temporary folder. An installation wizard is displayed. Note: You may need to unquarantine the file if your virus scanner identifies the file as unknown. |
6 |
If you are installing a single-user client on RHEL, perform the following steps.
|
7 |
If you are installing a single-user client on Mac OS, perform the following steps. Note: Each client package has a different name that corresponds to the server IP address. Multiple client installations on one station are supported, but only one client installation per server is allowed.
|
8 |
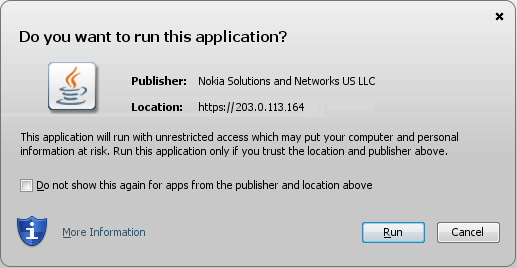
Follow the prompts to specify the client installation directory, whether you want a desktop shortcut created, and whether to run the client when the installation is complete, as required. Note: Depending on the OS type, one or more prompts may not be present. After you click Finish, a form like the following is displayed. Figure 14-2: Do you want to run this application?
|
9 |
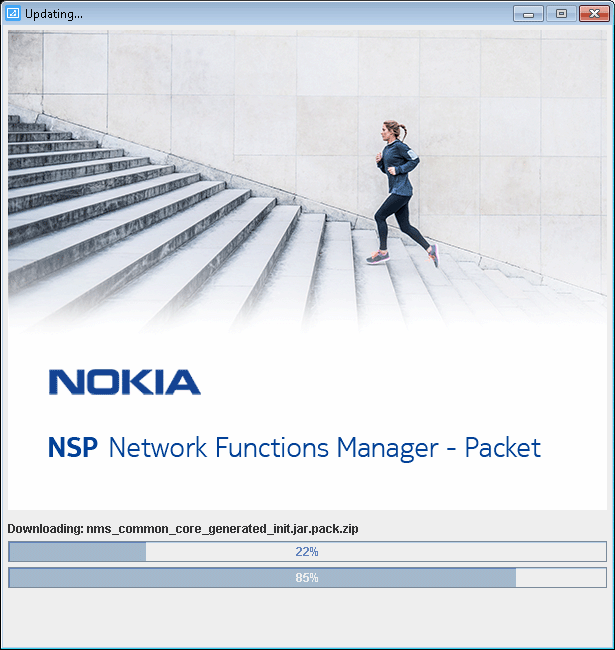
Click Run. The client installation begins, and the panel shown in Figure 14-3, Updating... is displayed. The panel uses separate bars to indicate the overall and current task progress. Figure 14-3: Updating...
|
10 |
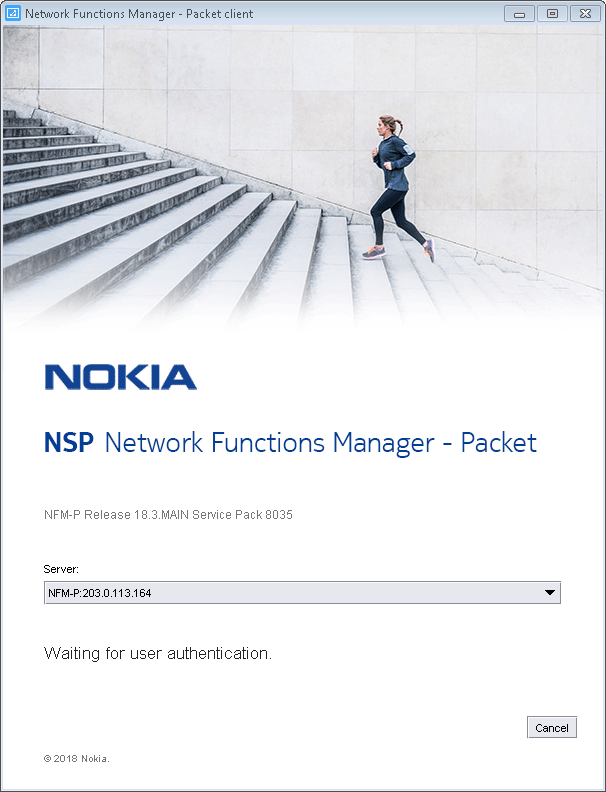
If you are not currently logged in, the splash screen shown in Figure 14-4, Waiting for user authentication opens, and the NSP sign-in page is displayed. Enter the required login credentials on the NSP sign-in page and click SIGN IN. The NSP UI is displayed, and the client GUI opens. Figure 14-4: Waiting for user authentication
End of steps |