NFM-P and NSP comparison: LAG Configuration
Before you begin
This use case shows how to use Infrastructure Configuration Management in NSP to create a LAG.
Click on a figure to enlarge it.
NFM-P method
For comparison, here are the steps we would have performed in the NFM-P to create a LAG.
-
Prepare the ports:
-
On the equipment tree, expand Network→NE→Shelf→Card Slot n→Daughter Card Slot n→Port n/n/n.
-
Multi-select the required ports, right-click and choose Properties. The Physical Port (Multiple Instances) (Edit) form opens.
-
Update the parameters as required and click Apply.
-
Save your changes and close the form.
-
On the equipment tree, expand Network→NE→Logical Groups→LAGs.
-
Right-click on LAGs and choose Create LAG.
-
Proceed through the wizard, configuring parameters as required, and click Finish.
Infrastructure Configuration Management method
You can configure all the ports in one operation by deploying a configuration template. Deploy another template to create the LAG.
In this example, the following configuration templates have been created; see
How do I import a configuration intent type?and
How do I create a configuration template?.
-
Gold_Ports , which uses the predefined icm-equipment-port-ethernet intent type
-
Gold-LAGs , which uses the predefined icm-logical-lag-access intent type
Steps
Configure the ports
|
|
|
1 |
Open Device Management, Configuration Templates.
|
2 |
Select Gold_Ports from the list of configuration templates and click (Table row actions), Deploy to Network.
|
3 |
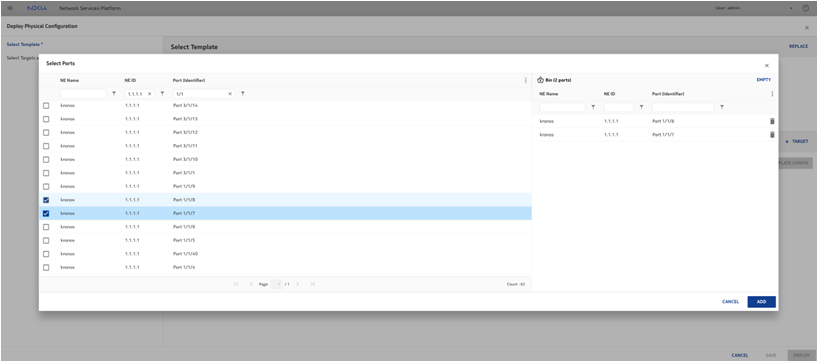
In the form that opens, click TARGET and choose Ports.
|
4 |
Filter on the NE name and port numbers to find the ports you want to configure, and click ADD to add them to the list of targets.
|
5 |
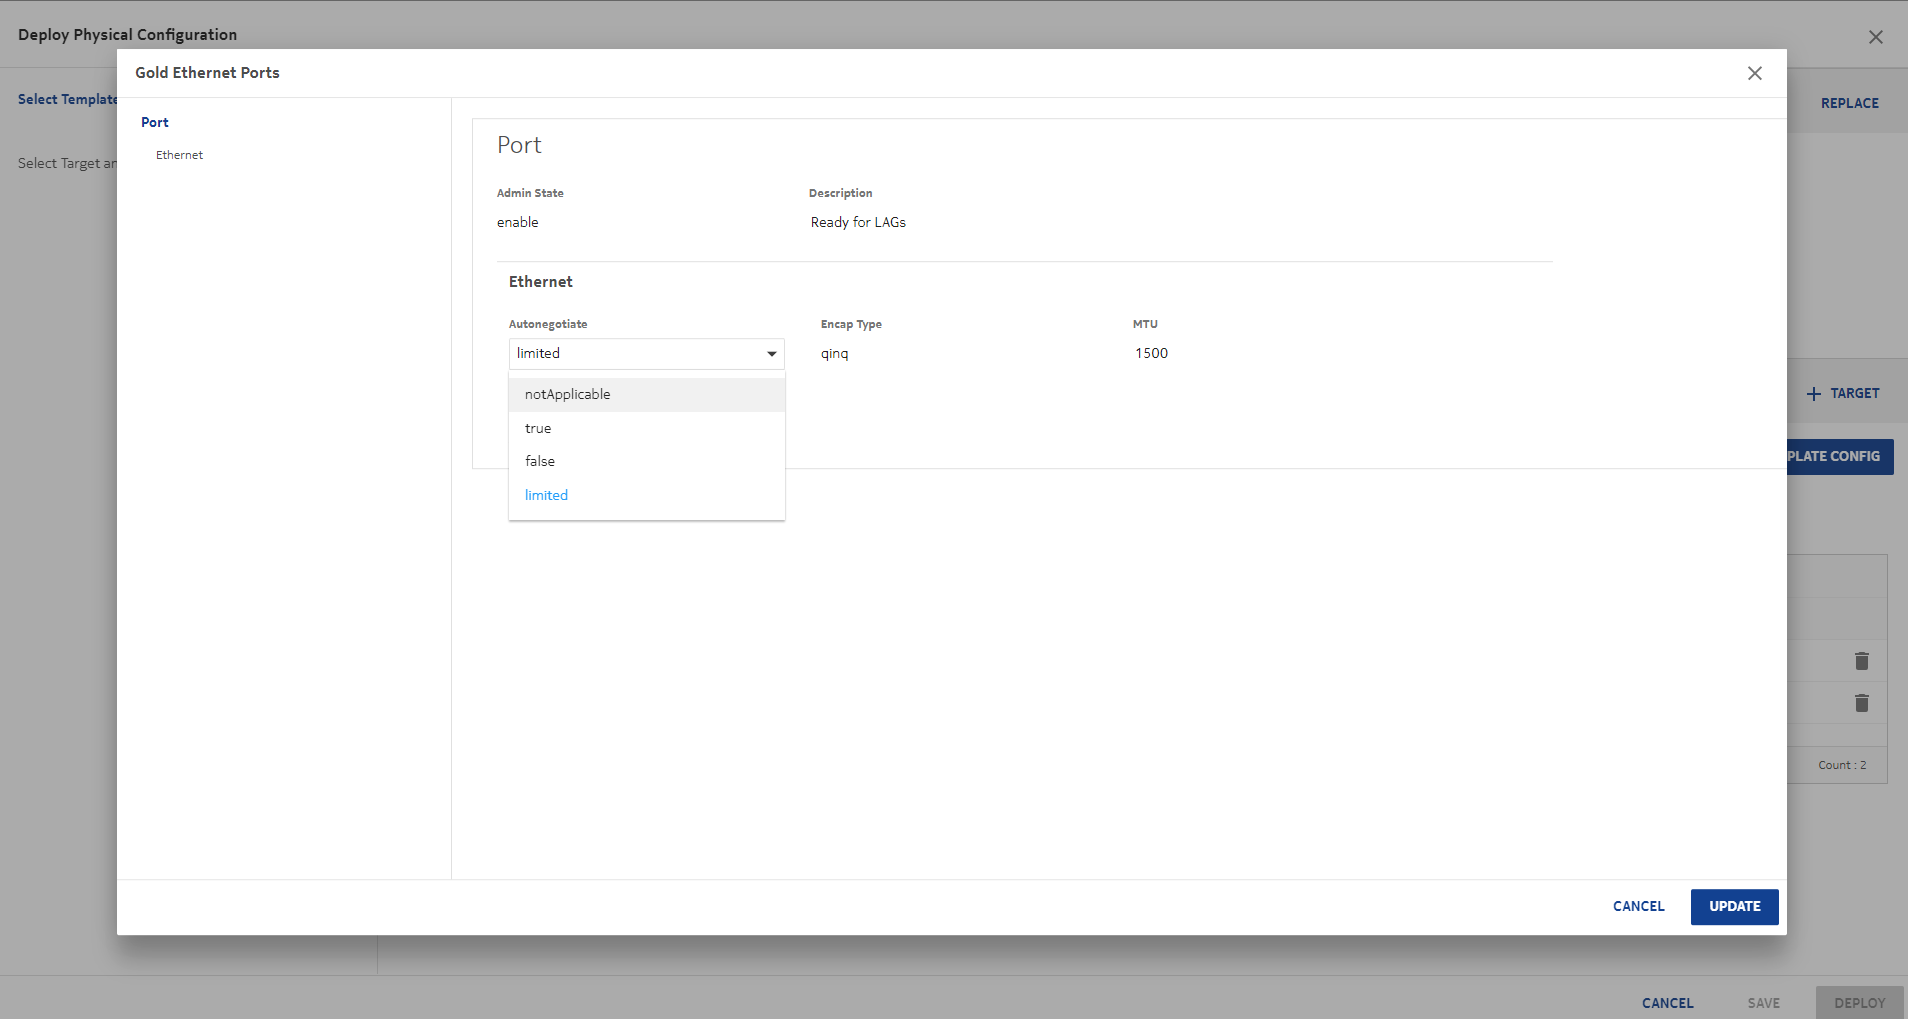
This template is flexible: you can click View/Edit Template Config to verify the configuration and update it if needed.
Click UPDATE to close the View form, and DEPLOY to send the configuration to the ports.
|
Configure the LAG
|
|
|
6 |
Select Gold-LAGs from the list of configuration templates and click (Table row actions), Deploy to Network.
|
7 |
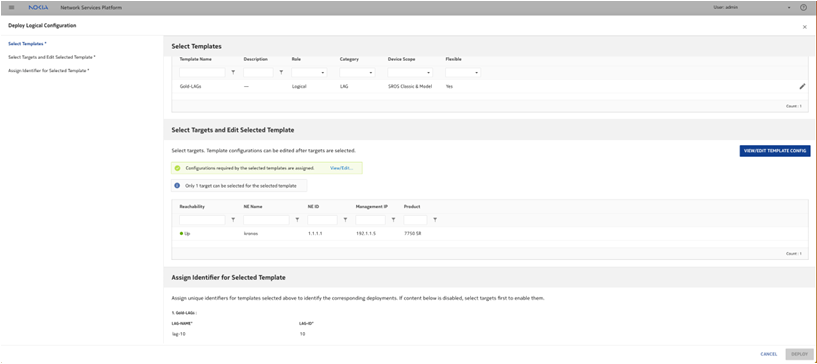
The template only accepts one target. Click TARGET and choose NEs.
Select the NE in the form that opens.
|
8 |
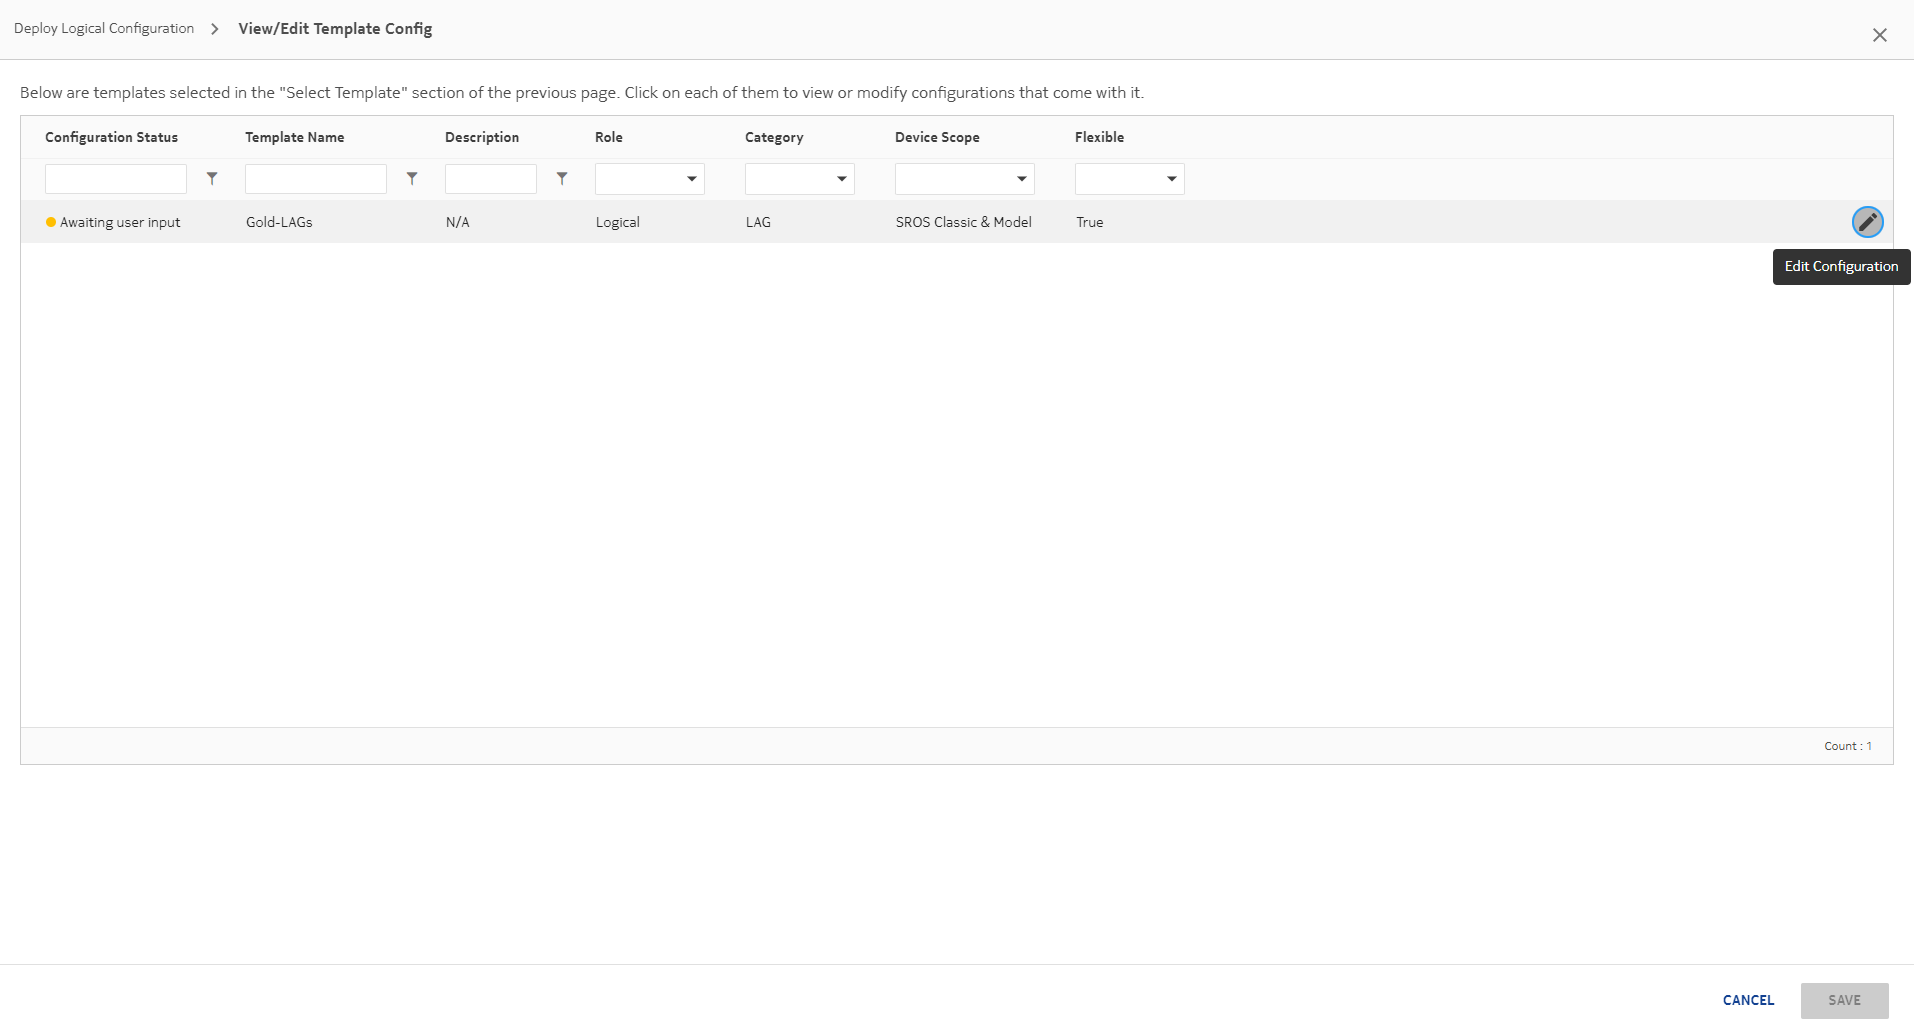
Click View/Edit Template Config to view and set the LAG parameters.
In the form that opens, select the template and click Edit Configuration.
|
9 |
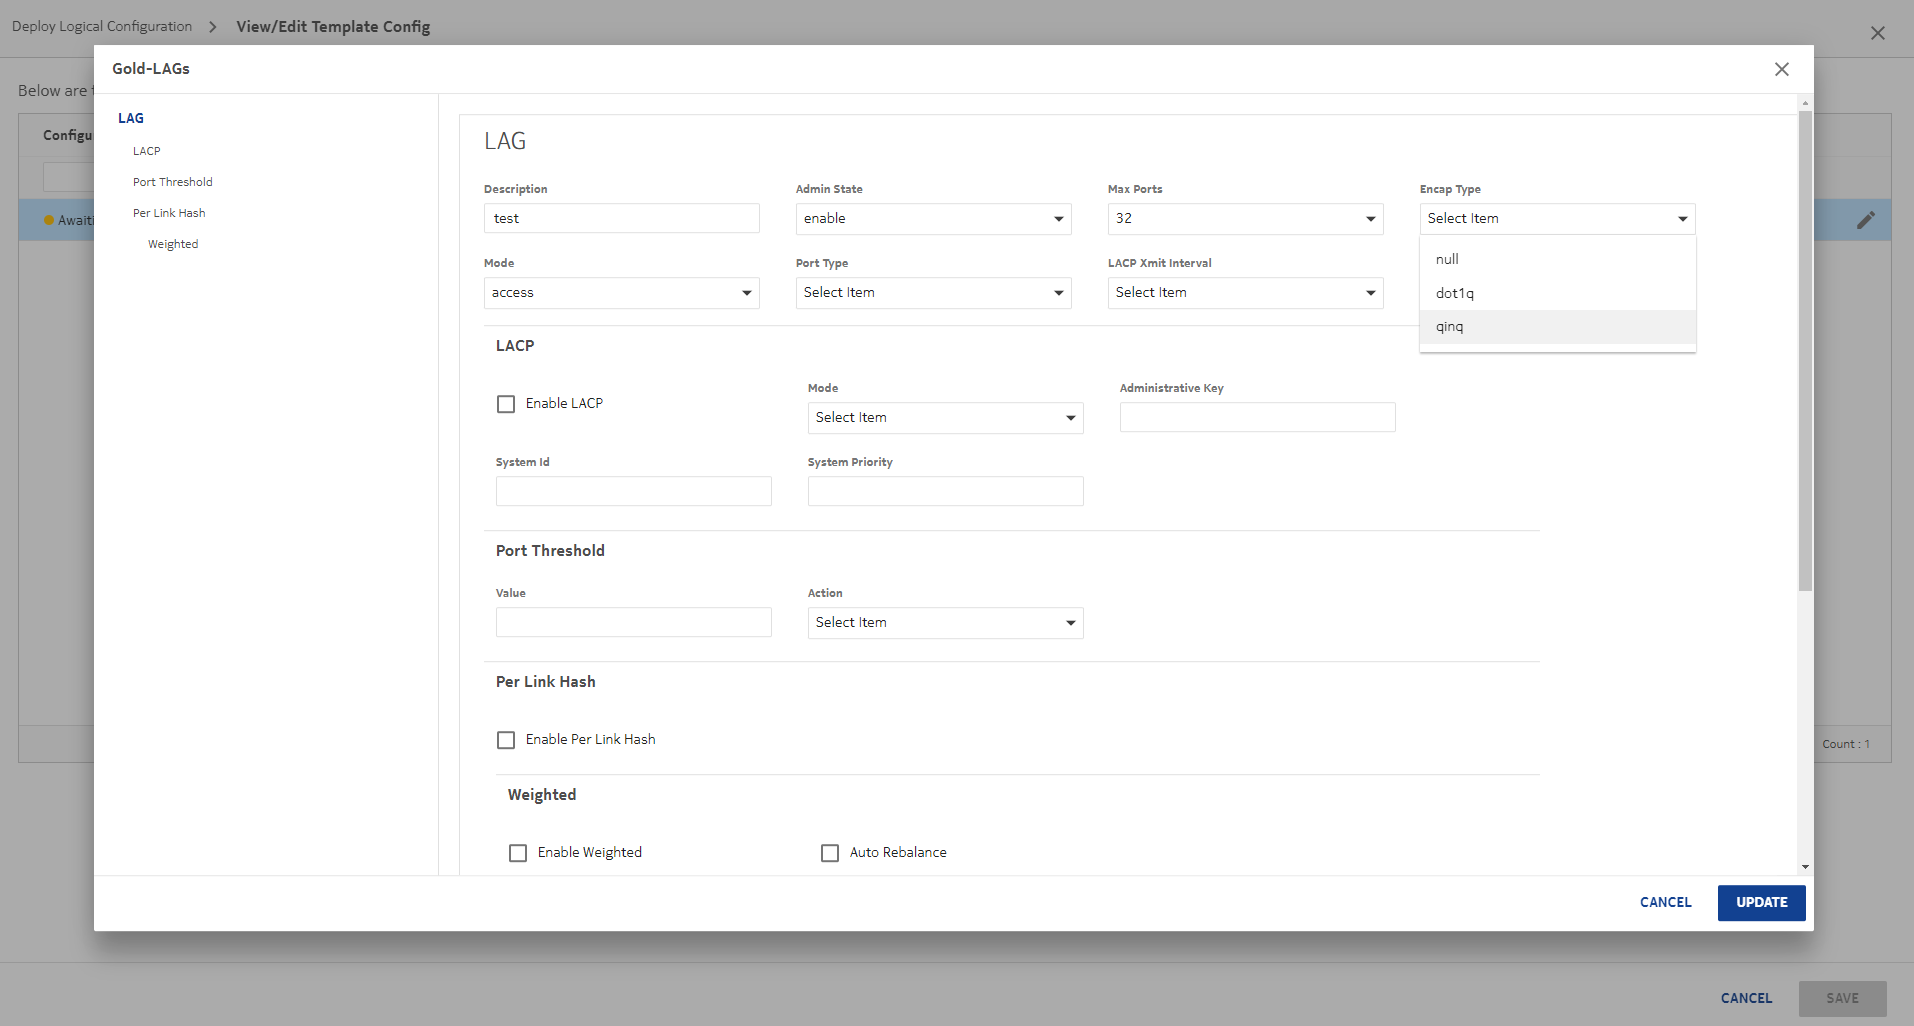
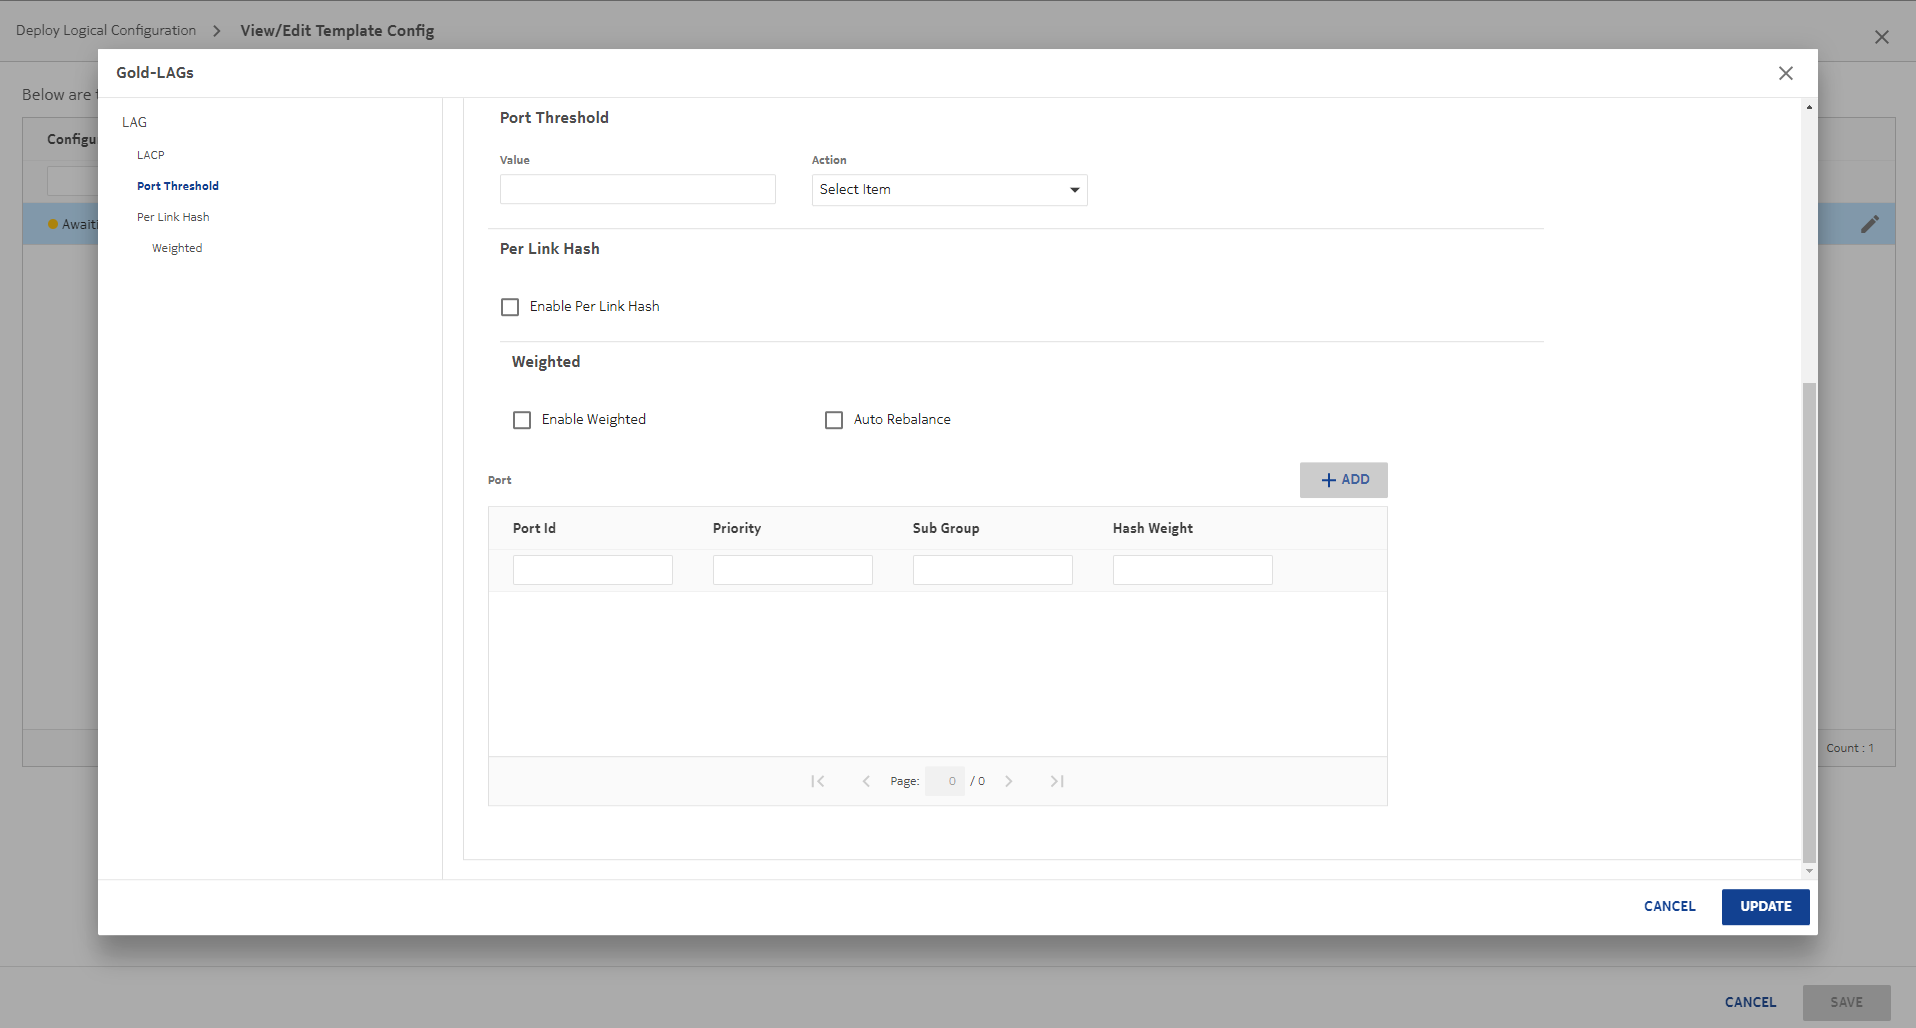
Configure the LAG parameters as needed.
|
10 |
Click ADD to add the ports you configured with the previous template.
|
11 |
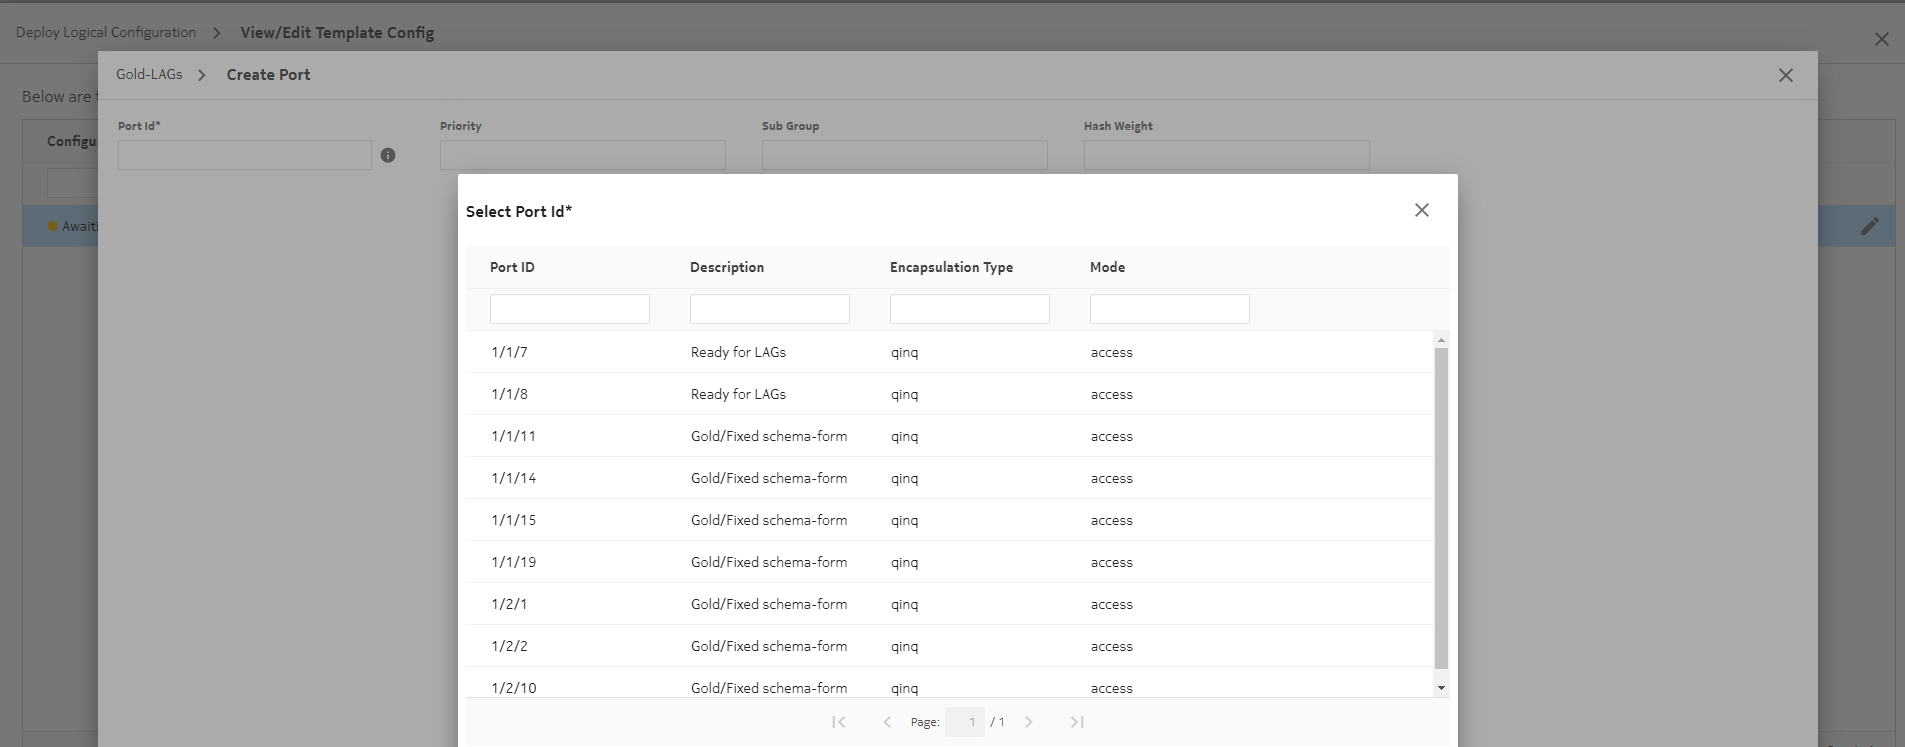
In the form that opens, select a port and click SELECT.
|
12 |
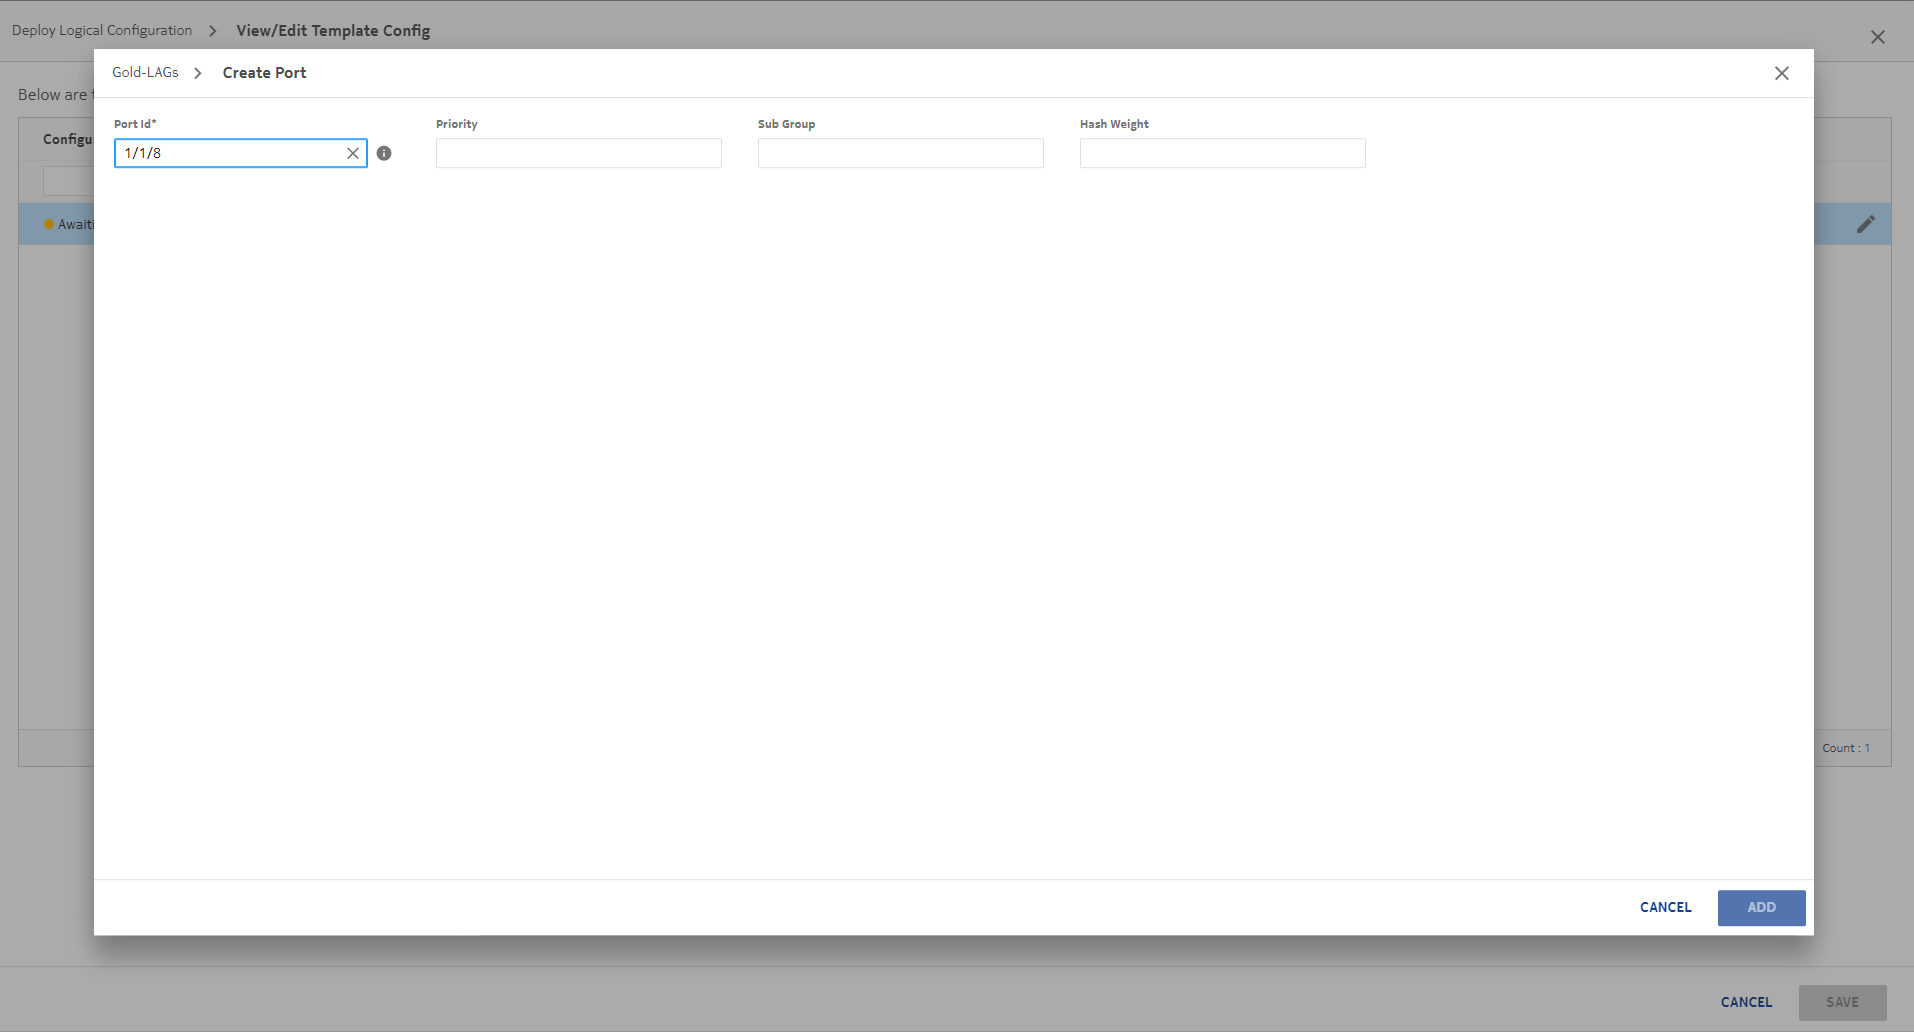
Configure port parameters as needed and click ADD.
|
13 |
Repeat the steps to add the other port and click UPDATE. Click SAVE to exit the View/Edit form.
|
14 |
Enter a name and ID for the LAG and click DEPLOY.
End of steps |
Result
Double click on Gold-LAGs in the template list to see the deployments and show the newly created LAG.