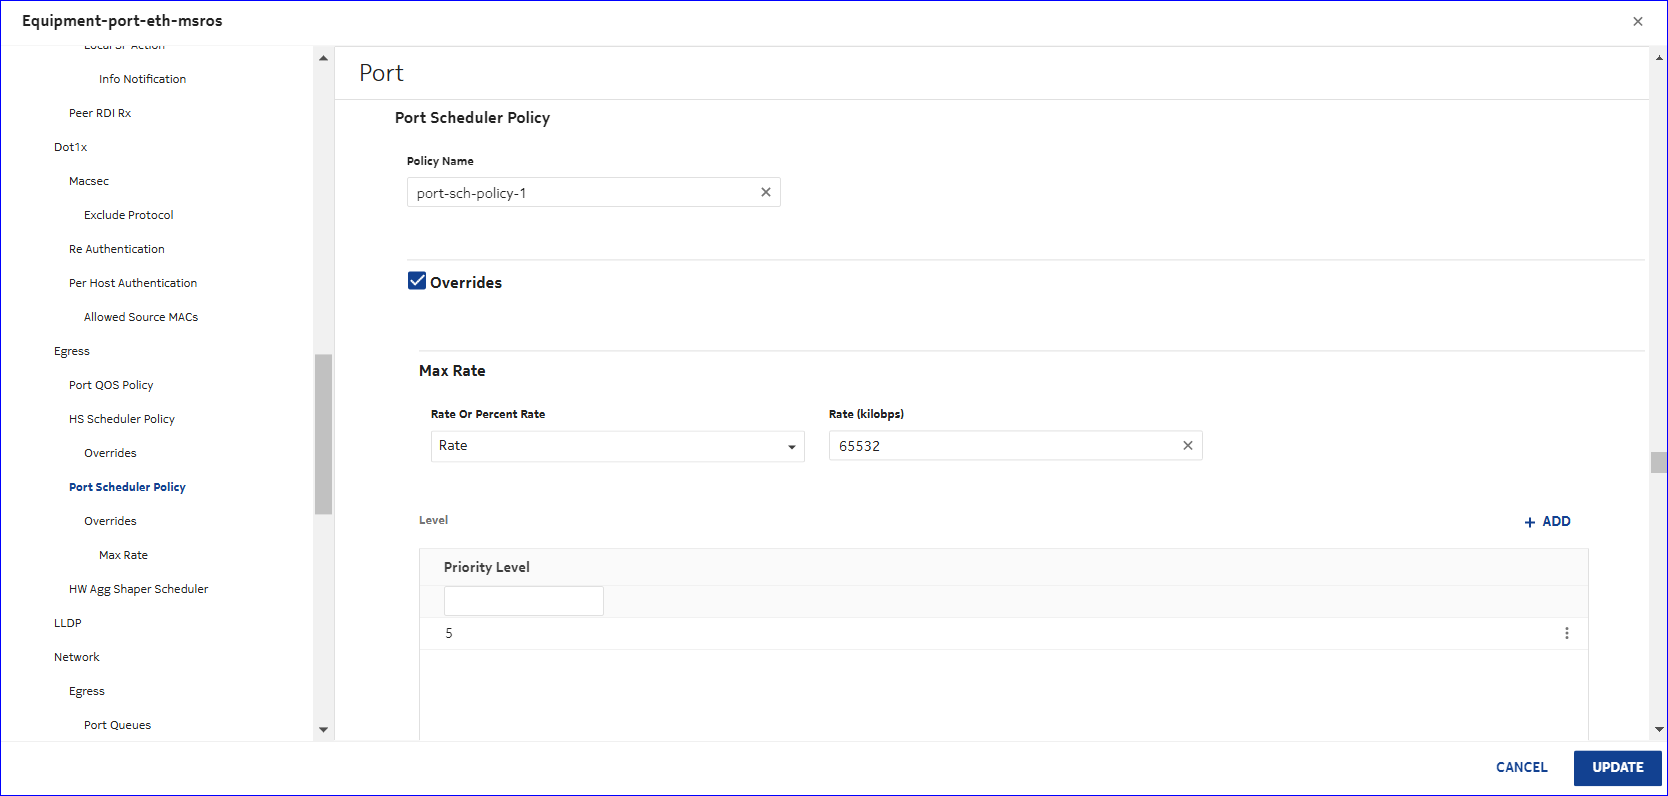
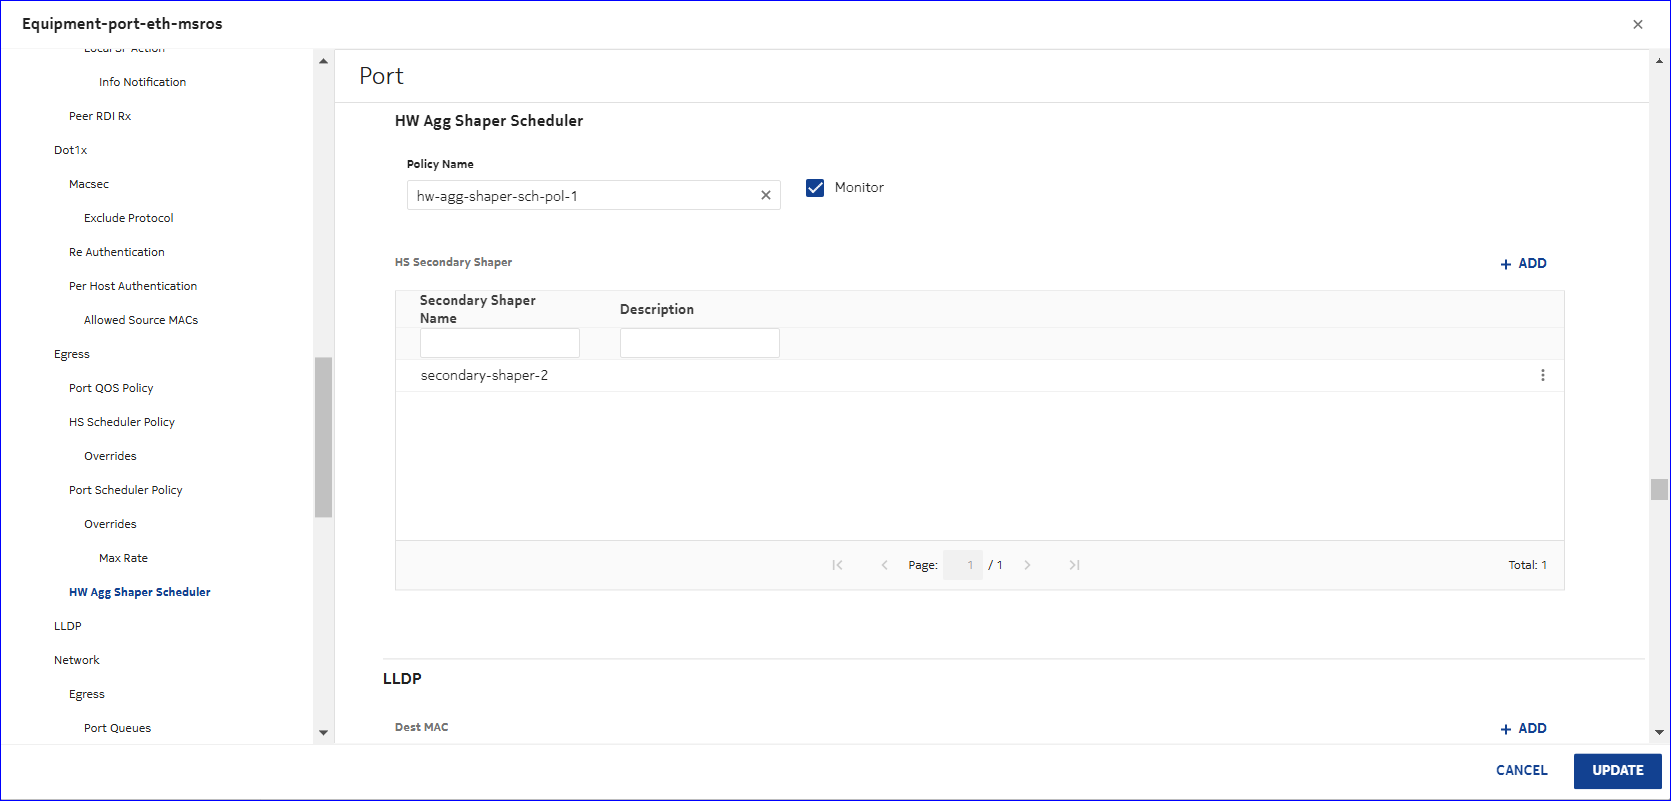
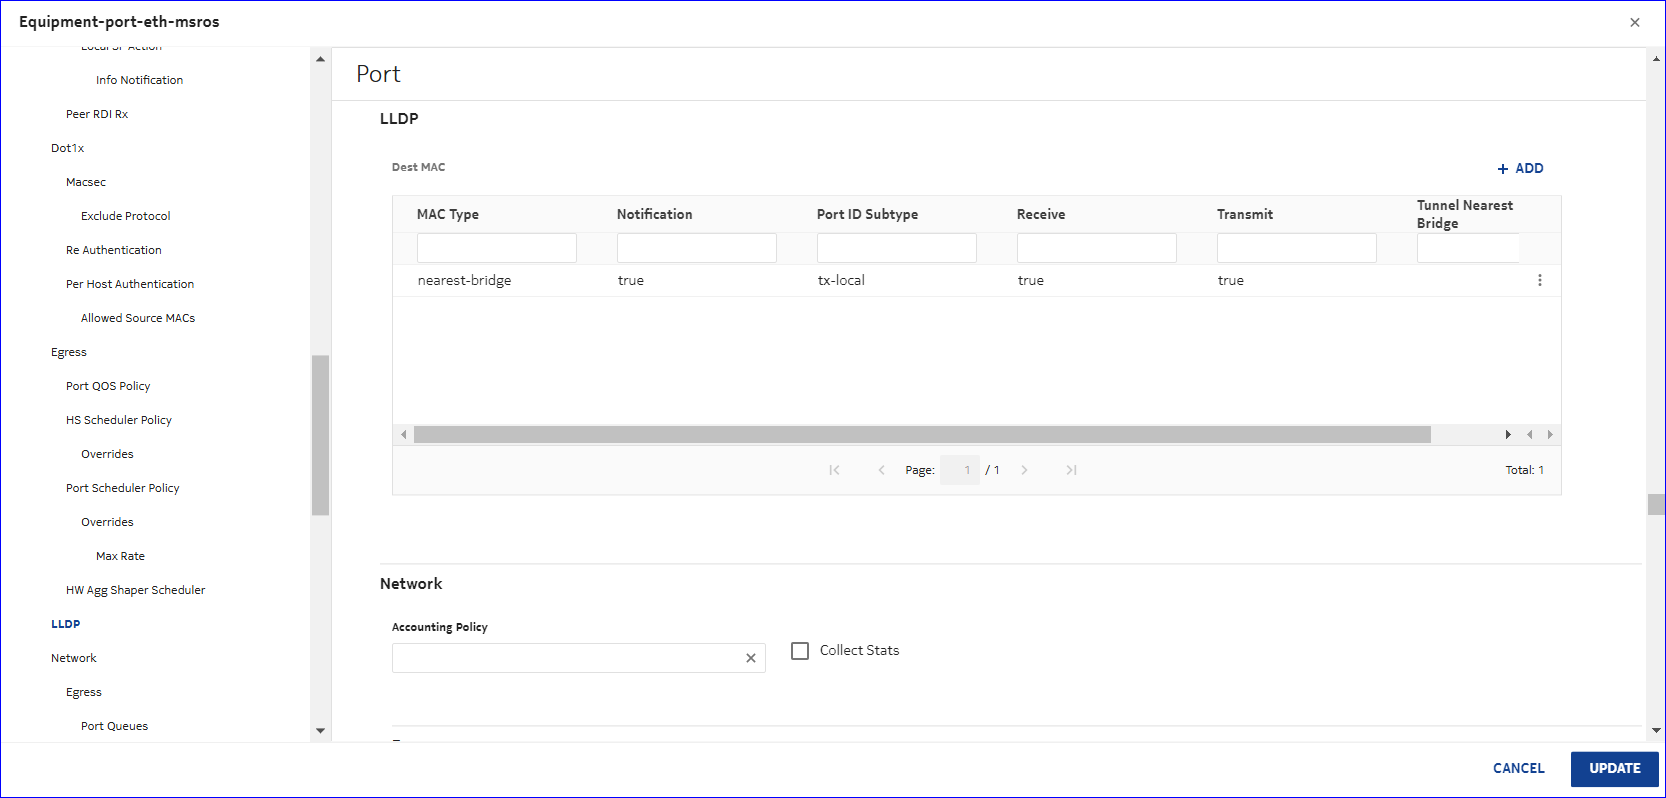
Create and deploy an EPIPE service to the network
Purpose
Steps
1 |
Log in to the NSP as the Service Management user. |
2 |
From the Service Management, Services view, click The Select a service template to start form opens displaying a list of service templates. |
3 |
Click on an E-Line service template from the list. The Create Service form opens with the Template Name parameter populated. |
4 |
Configure the parameters, as required. Continue to the Site A panel. |
5 |
Configure the required parameters: Note: If site names and descriptions are added, these will take precedence over any service name and description specified in Step 4, with the Site A name and description taking precedence over Site B. As such, these attributes will be displayed in various locations, such as NSP's Model Driven Configurator function and NFM-P. |
6 |
The Add Endpoint form opens. |
7 |
Configure the parameters, as required. |
8 |
Perform the following to specify an accounting policy to be used:
|
9 |
Configure the parameters in the Cpu Protection panel, as required. |
10 |
If QoS was enabled in Step 9, configure the parameters as required in both the ingress and egress panels: |
11 |
If an IP/IPv6 filter was enabled in Step 9, configure the parameters as required in both the ingress and egress panels: Click ADD to add the endpoint. The Add Endpoint form closes. |
12 |
In the Site B panel, repeat Step 5 to Step 11. |
13 |
In the SDP Details panel, click The Add SDP form opens. |
14 |
Configure the parameters, as required: Click ADD to add the SDP binding. The Add SDP form closes. |
15 |
Click DEPLOY to create the service in a Deployed state. |
16 |
Perform an audit to verify that the service is deployed correctly:
|
17 |
Click The service is synchronized with the network. End of steps |


