Procedure 14-1.1: Install WaveStar® CIT software on your PC
 Before you begin
Before performing this procedure, complete Procedure 14-1: Install software on the PC.
Steps
Complete the following steps to install the WaveStar® CIT software on your PC.
1 |
Click WaveStar CIT to install the WaveStar® CIT software. Result: Either the WaveStar CIT InstallShield or the WaveStar CIT maintenance installation screen appears. | ||||||
2 |
A screen may appear stating that the WaveStar® CIT requires items (Java and/or Microsoft C++) to be installed on your computer before the installation can continue. Follow the instructions to install these items. | ||||||
3 |
Do you have a previous version of the WaveStar® CIT installed on your computer?
| ||||||
4 |
When the following window opens, select Select to: Modify, Update, or Repair the current installation. Click Continue. 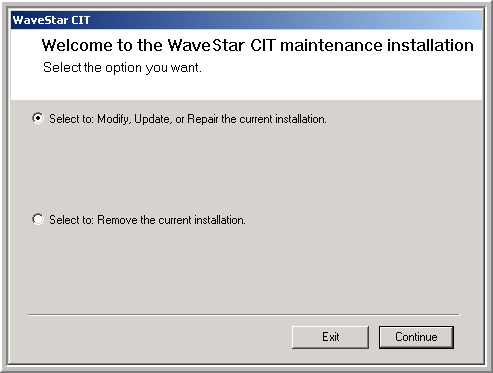 | ||||||
5 |
Select either
Click Next. 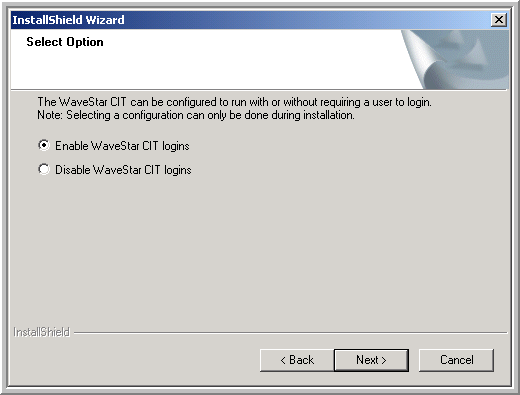 | ||||||
6 |
Select either Click Next. 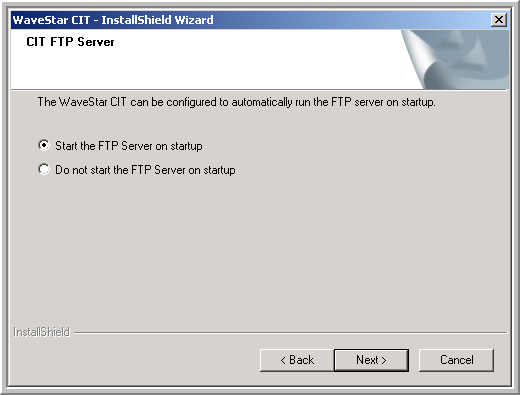
If the WaveStar® CIT FTP Server is not configured to automatically start on startup during installation, the FTP Server must be started manually from the Network View menu, Administration → FTP Administration. | ||||||
7 |
Do you see the Reboot Required screen illustrated in this step?
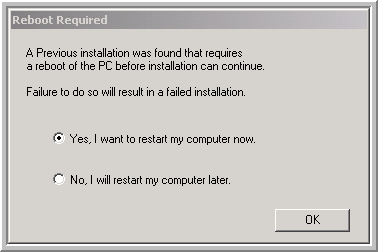 | ||||||
8 |
When the InstallShield® Wizard appears, click Next. 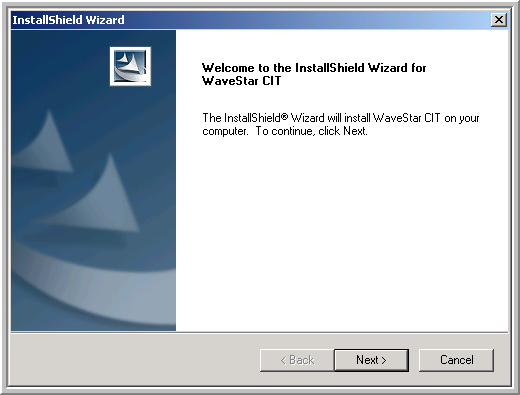 | ||||||
9 |
Follow the instructions on the different InstallShield® Wizard windows, including reading and agreeing to the following two License Agreements. 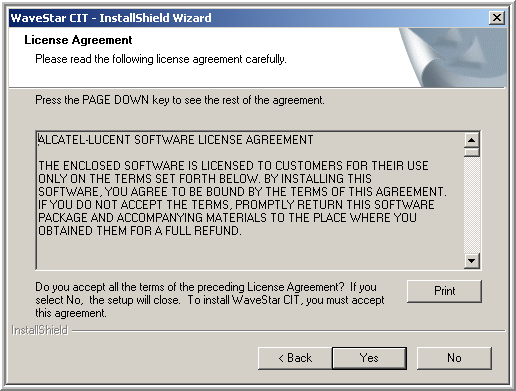
Click Yes. 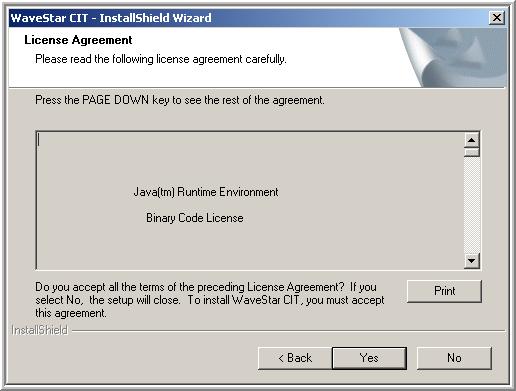
Click Yes. | ||||||
10 |
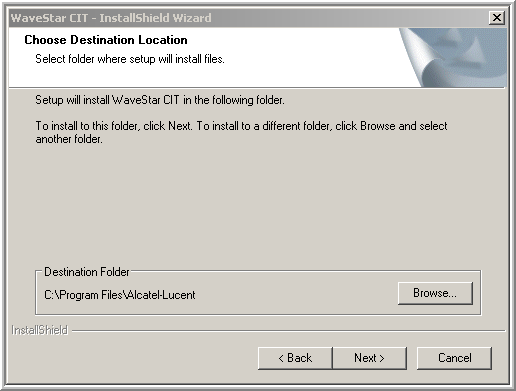
Select where you want the WaveStar® CIT software installed on your PC.
 | ||||||
11 |
Select either
Click Next.  | ||||||
12 |
Select either Click Next. 
If the WaveStar® CIT FTP Server is not configured to automatically start on startup during installation, the FTP Server must be started manually from the Network View menu, Administration → FTP Administration. | ||||||
13 |
Select the following components to complete the WaveStar® CIT installation.
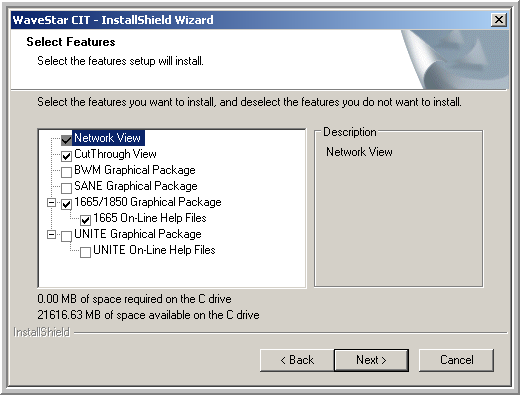
Important! The initial component selections that appear are based on the previous installation. To save valuable disk space and reduce installation time, you can deselect graphical packages for all products that you do not plan to manage with this WaveStar® CIT. Space Required on “C”: indicates the space required to install you selected components. (If you specified an installation location other than Drive C, “C” may be a different drive.) If you had a previous version of the WaveStar® CIT installed on your computer and you are not changing your selected components, the Space Required on “C”: is zero. In this situation, the components are already resident on the computer, therefore no additional space required when performing an upgrade. If any additional (new) packages are selected, the space required for those specific packages is displayed. | ||||||
14 |
Click Next. Result: The following screen appears. Confirm your component selection Your list of selected components may be different than this screen. 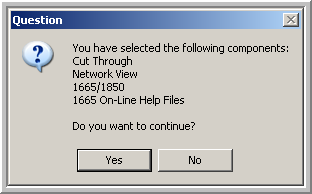 | ||||||
15 |
Click Yes. Result: You are prompted with the choice to install OSI (Open System Interconnect) communications protocol. 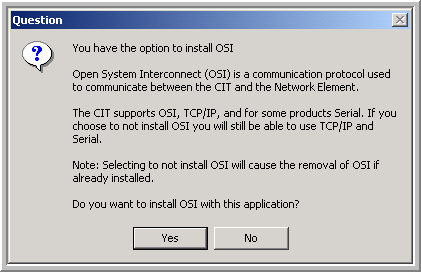 | ||||||
16 |
If you wish to install OSI click Yes, otherwise, click No. Result: The following progress indicator screen appears while the InstallShield® Wizard installs the required files. 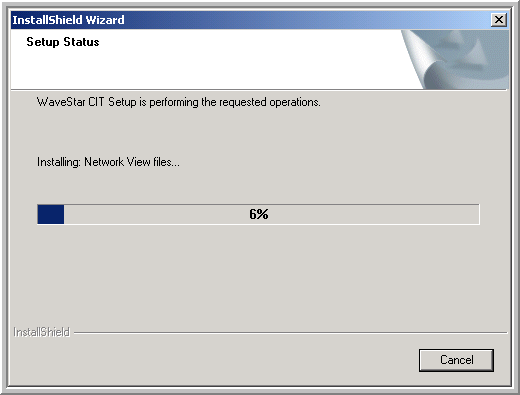 | ||||||
17 |
If you wish to copy the NE software to your PC, select Yes on the following screen. 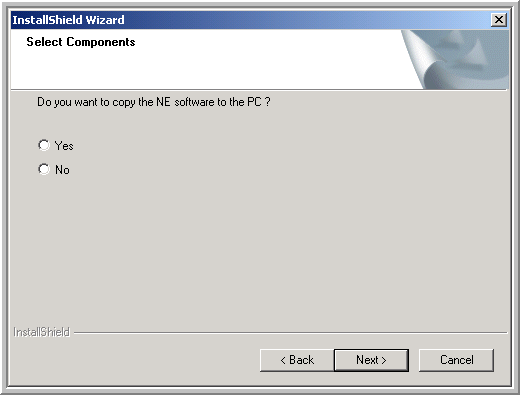 | ||||||
18 |
Did you select Yes or No in Step 17?
| ||||||
19 |
A Copying files, please wait window appears. When the window closes, the software files are successfully copied into the generics directory on your PC. By default, this directory is C:\Program Files\Alcatel-Lucent\WaveStar CIT\generics\DMX\9.1.0\p, however, the actual directory is determined by the path defined in Step 10. Result: After the NE software is successfully copied to the appropriate directory. If you answered yes in Step 3, you may still have the following folder on your Desktop. If you answered no in Step 3, you do not see this folder.  | ||||||
20 |
In Step 16, did you elect to install OSI?
| ||||||
21 |
When the following screen appears, the installation without OSI is complete. 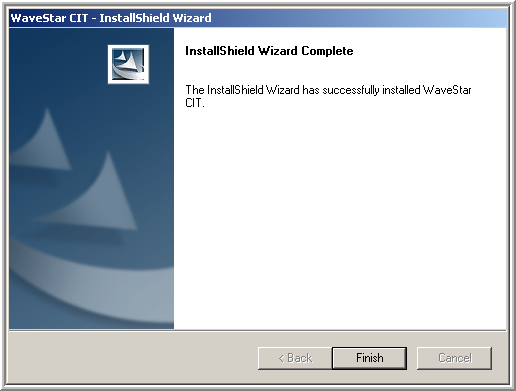 | ||||||
22 |
Click Finish. Result: The following icon appears on your desktop. Click this short-cut icon to launch the WaveStar® CIT.  | ||||||
23 |
Proceed to Step 26. | ||||||
24 |
When the following screen appears, the installation with OSI is complete. 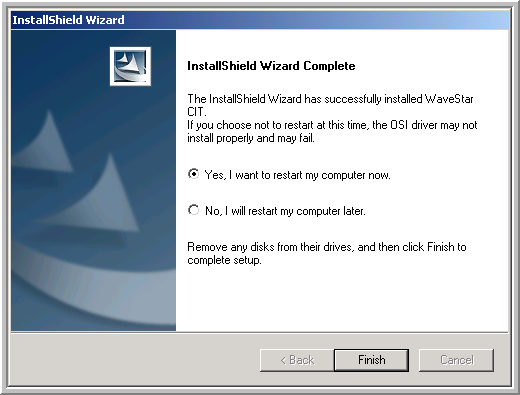 | ||||||
25 |
Important! Before using your new WaveStar® CIT, you MUST reboot your computer. Select Yes, I want to restart my computer now. and click Finish. Result: The following icon appears on your desktop. After you restart your PC, click this short-cut icon to launch the WaveStar® CIT.  | ||||||
26 |
Important! The InstallShield® Wizard may create temporary folders/files in the PC system Temp folder. Temporary folders/files stored in the PC system Temp folder decrease available disk free space and may affect system performance. If desired, close all open applications running on the PC and delete the appropriate temporary folders/files from the system Temp folder. The Temp folder is defined by the TEMP system variable. It can be on any hard drive, but is usually defined as c:\Temp. Windows operating systems provide a Disk Cleanup Wizard that can be used to remove temporary folders/files. To use the Disk Cleanup Wizard select Start → Programs → Accessories → System Tools → Disk Cleanup. End of steps |