Procedure 6-3.5: Log in serially and enable FTP and/or OSI on the LAN port
 Overview
Use this procedure to log in serially to a replacement SYSCTL and enable OSI and/or FTP on LAN-1.
Steps
Complete the following steps to log in to a SYSCTL serially.
1 |
Using RS-232 cable with an RJ-45 connector on one end and a PC serial connector on the other (typically DB9) for the RS232 port, connect the COM1 or COM2 port of your PC to the RS232 serial port on the faceplate of the SYSCTL circuit pack. Important! DO NOT establish a WaveStar® CIT session. | ||||||
2 |
Do you know the TID and the user ID and password for the replacement SYSCTL?
| ||||||
3 |
Double-click on the 1850 TSS Family Software folder on your Desktop. Result: The 1850 TSS Family Software folder contains the short-cut icon for the Alcatel-Lucent 1850 TSS-5 software release to be installed. Your software release may be different, for example 7.2.3.  | ||||||
4 |
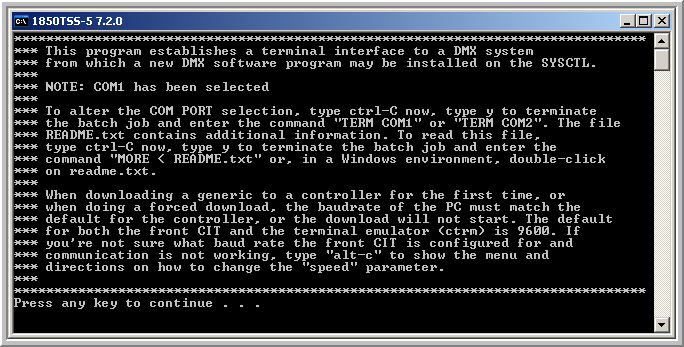
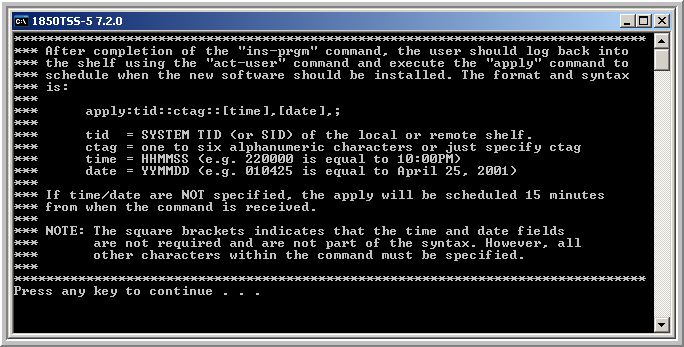
Double click on the short-cut icon for the software release to be installed (for example, 1850TSS-5 7.2.2) to launch the term.bat file in the .../WaveStar CIT/generics/1850TSS-5/7.2.2/p directory. The files in this directory are used for serial downloads of the software. (Your software release may be different.) Follow the instructions on the subsequent screens. 


 | ||||||
5 |
Press Enter. Result: The response will be /* SYSTEM TID: ALU-TSS-5 */. ALU-TSS-5 is the default TID. Your TID may be different.  | ||||||
6 |
Press Enter and type ACT-USER:ALU-TSS-5:ALU01:CTAG::1850TSS-5; Result: The following screen appears.  | ||||||
7 |
Were you able to determine your TID and log in successfully using the default user ID and password?
| ||||||
8 |
Do you need to enable FTP?
| ||||||
9 |
In the TERM window, type ENT-SYS:TID::CTAG:::FTP=ENABLED; Important! Replace TID with your TID (default is ALU-TSS-5). | ||||||
10 |
Exit the Term program using ALT+F2. | ||||||
11 |
Do you need to enable OSI?
| ||||||
12 |
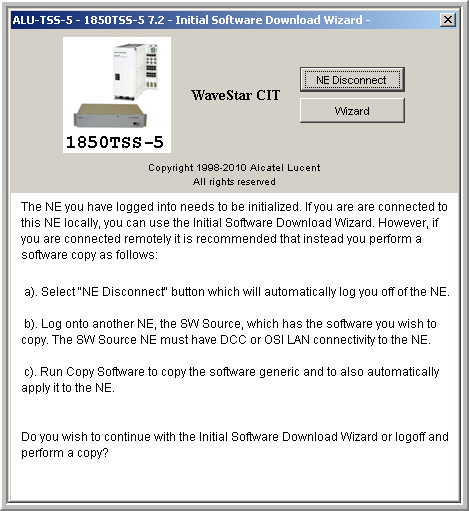
From the Network View, establish a WaveStar® CIT session (specifying Serial in the Connection Type: field) and log in to your Alcatel-Lucent 1850 TSS-5 shelf. Result: The following window appears. The boot code of your SYSCTL appears in the title bar after 1850TSS-5. The figure below indicates that the SYSCTL has 7.2 boot code. Your boot code may be different. 
Reference: Procedure 6-2: Connect personal computer (PC) and establish WaveStar® CIT session | ||||||
13 |
Read the material and click Wizard to continue with the Initial Software Download Wizard and determine the boot code of your SYSCTL. Result: The following welcome screen (Screen 1 of 4) appears.  | ||||||
14 |
What is the boot code of your SYSCTL (VLNC2)?
| ||||||
15 |
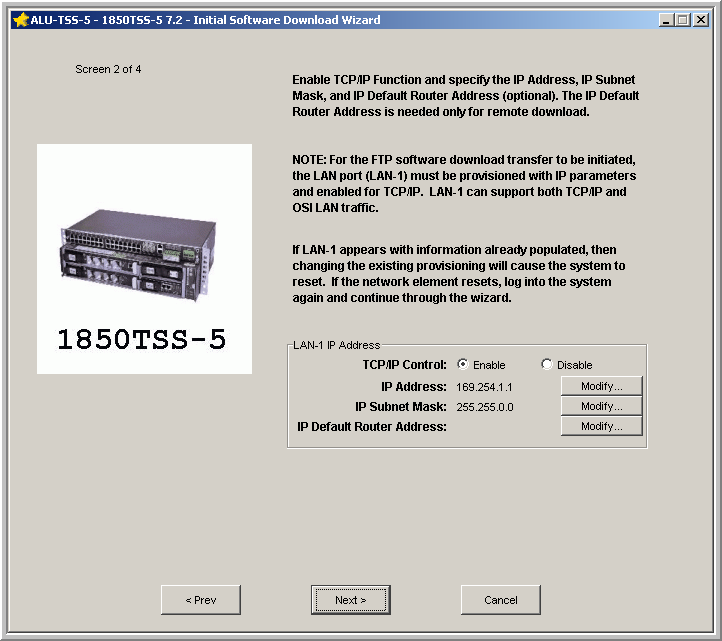
On Screen 1 of 4, (displayed in Step 13), read the material and click Next. Result: Screen 2 appears.  | ||||||
16 |
Enable OSI on LAN-1. Click Apply and then click Cancel to exit the initial software download wizard. Result: A warning message appears stating the initial software download is incomplete, click Yes. | ||||||
17 |
Important! You must have physical access to the shelf and have a PC with the WaveStar® CIT and software generic loaded. Are you performing the software download locally?
End of steps |